TAG
TAG- オブジェクト選択ツール , コンテンツに応じた塗りつぶし , ワープ , 画像操作
2020年09月07日
自然で美しい人物レタッチができるようになる濱中メソッドはついに最終回。顔に始まり手足や全体のバランスまで、これですべてのチェックポイントが明らかになる。すべてのポイントをしっかり抑えて美しいポートレイトを仕上げよう。
今回は第4弾、人物レタッチをする上でチェックするべきポイント・濱中メソッドの12〜16。最後に、首・脇・腕&肩・手・足といったボディまわりをチェックして、人物レタッチを仕上げましょう。
人物レタッチを正しいゴールに導く 濱中メソッド 16
さらに今回は時短テクニックも交えながら解説します。「16項目のチェックポイント」x「時短のテクニック」が合体したら怖いものなしです!最短距離でゴールを目指します。
時短テクニックの部分には「![]() 」をつけておきますので注目してください!
」をつけておきますので注目してください!
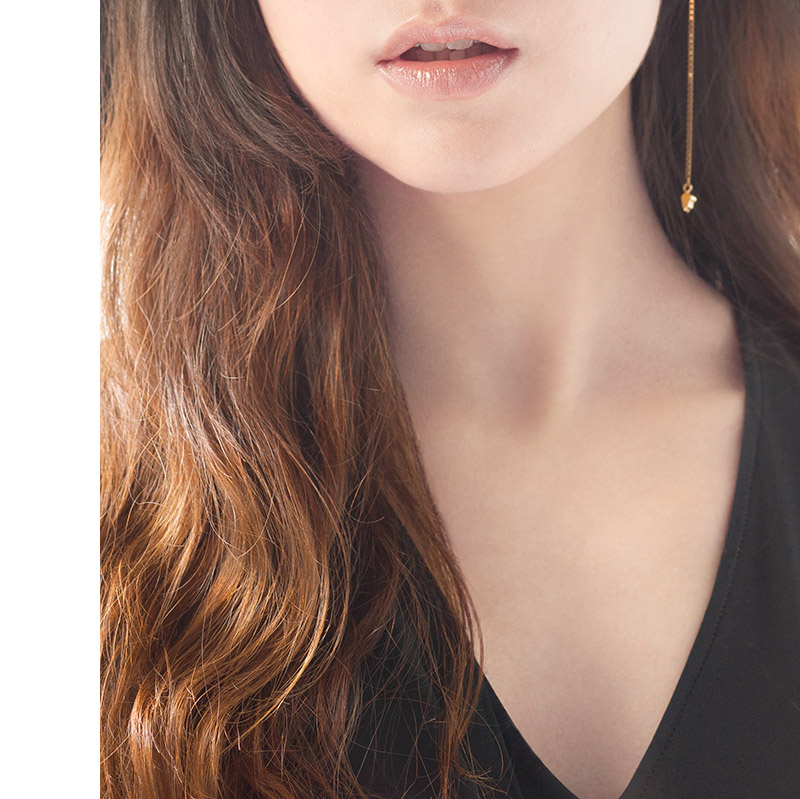
ではさっそく・・・首から見て行きましょう。
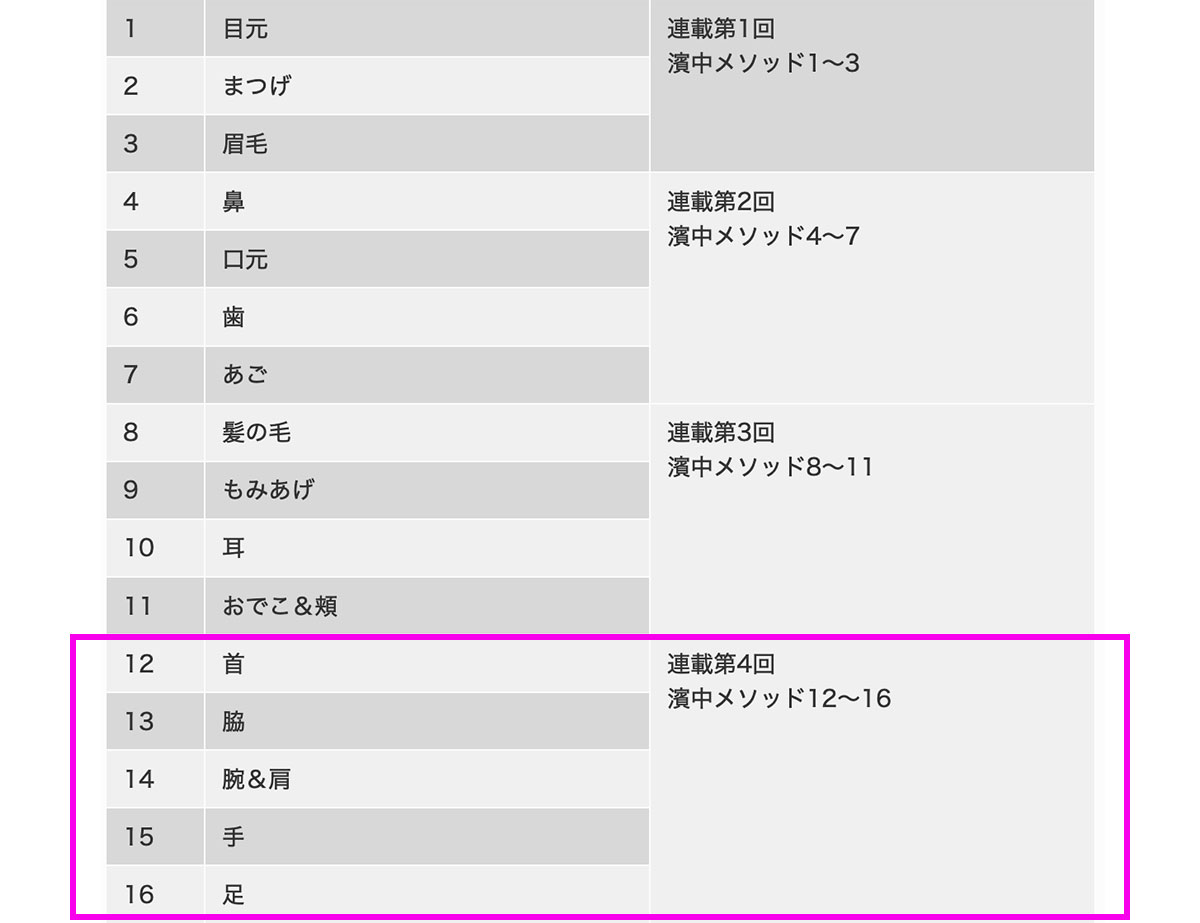
濱中メソッド⑫ 首のチェックポイントは5つ
12/a…
シワ、シミ、ホクロ、毛穴はキレイにしてすっきり!
12/b…
色ムラ、トーンムラは目立たなく。
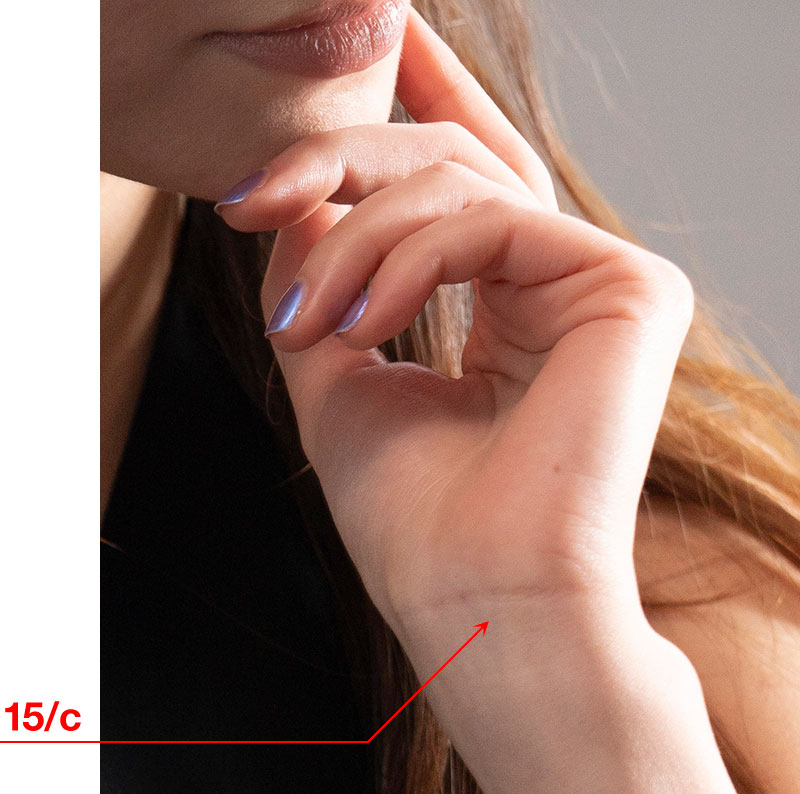
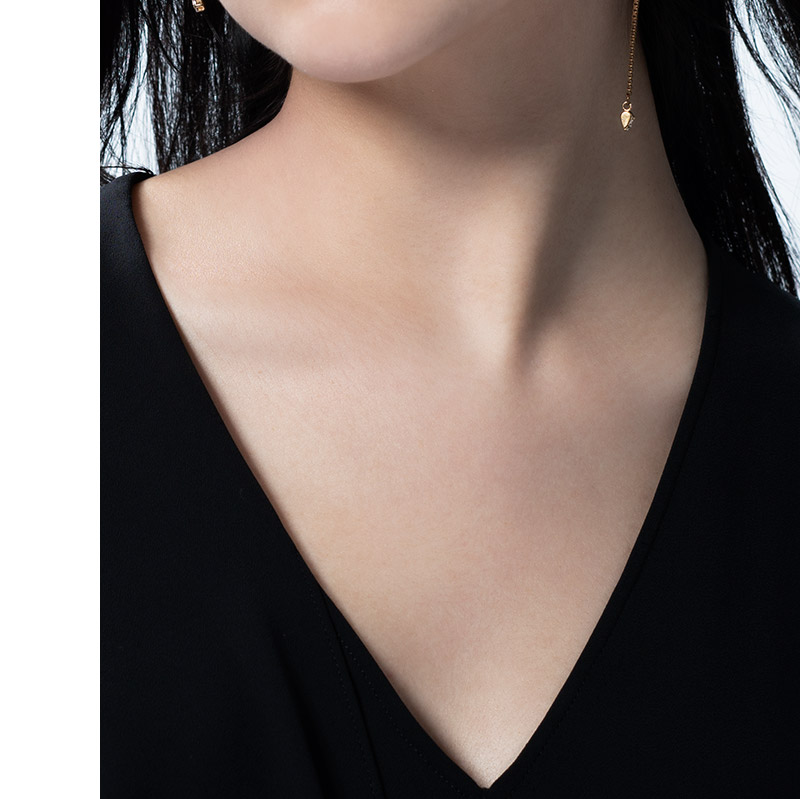
12/c…
首の色が顔色と違っていたら自然に合わせます。
12/d…
コツは「横のシワを抑えて縦のシワは整える」
12/e…
首や肩口にかかる髪の毛、整理してすっきり!
before & after
サンプルで見ていきましょう。
★12/a.
シワ、シミ、ホクロなどは必要なければ消します!毛穴もキレイに!
12/b.
色ムラは目立たなく
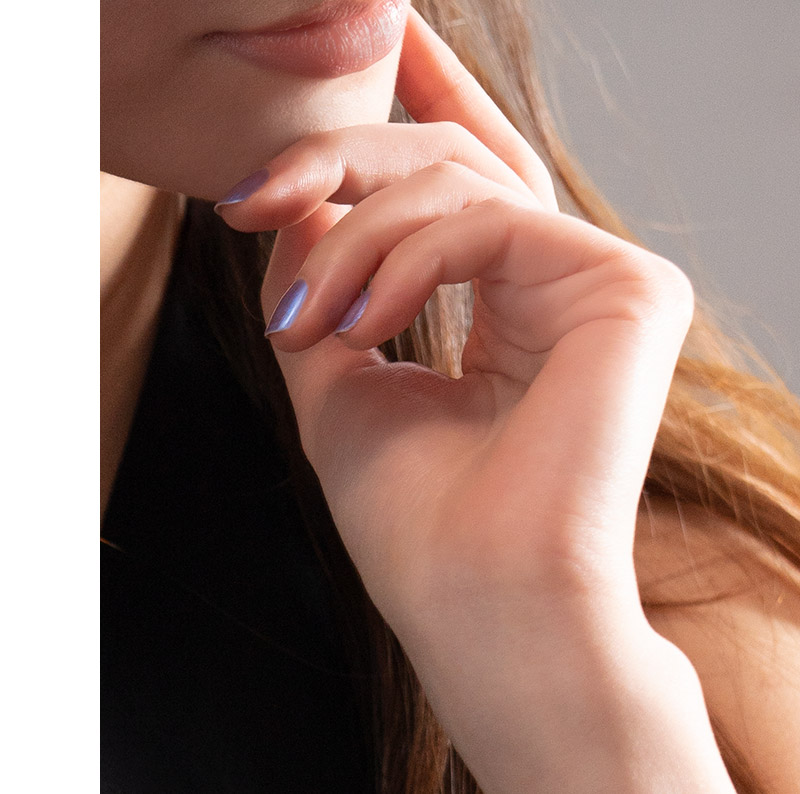
12/c.
首の色が顔色と違っていたら合わせます
12/e.
首の髪の毛、消しましょう!
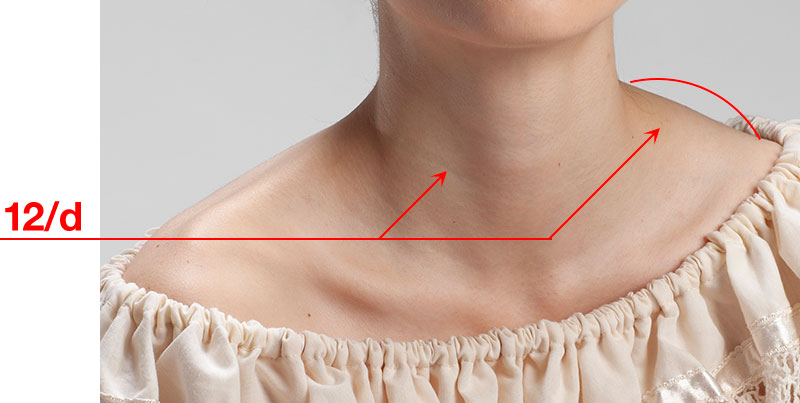
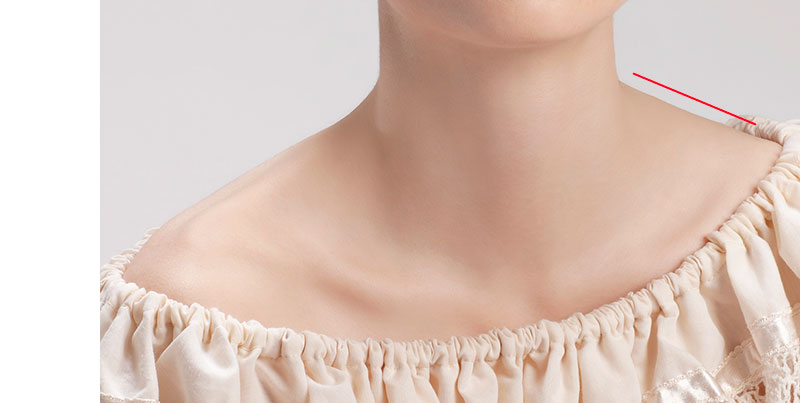
12/d.
鎖骨、胸鎖乳突筋はキープしつつキレイに!特に横のシワはなじませます
12/d.
僧帽筋上部が盛り上がらないように!
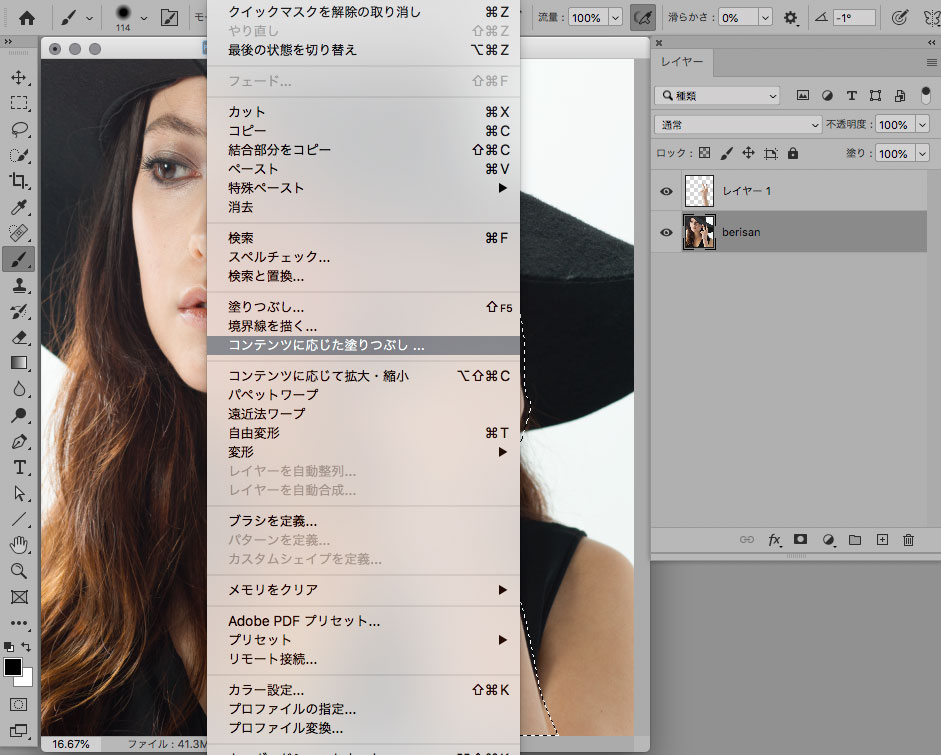
★12/a「シワ、シミ、毛穴などをキレイに!」に使用したツール
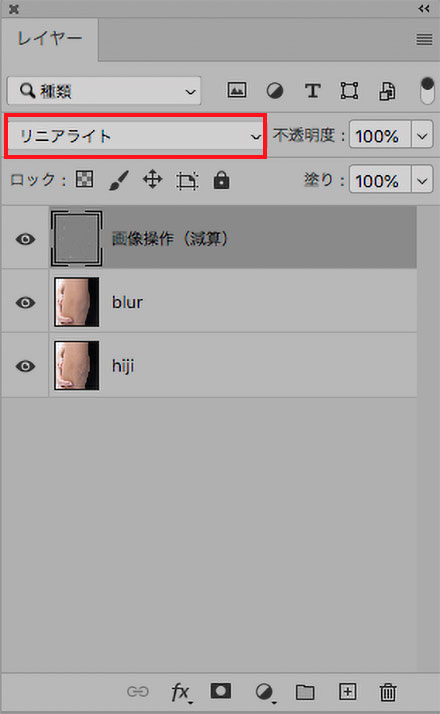
![]() 画像操作(減算)を使用します。
画像操作(減算)を使用します。
1) 大きめのホクロやシミは、あらかじめ修復ブラシで消しておきます。
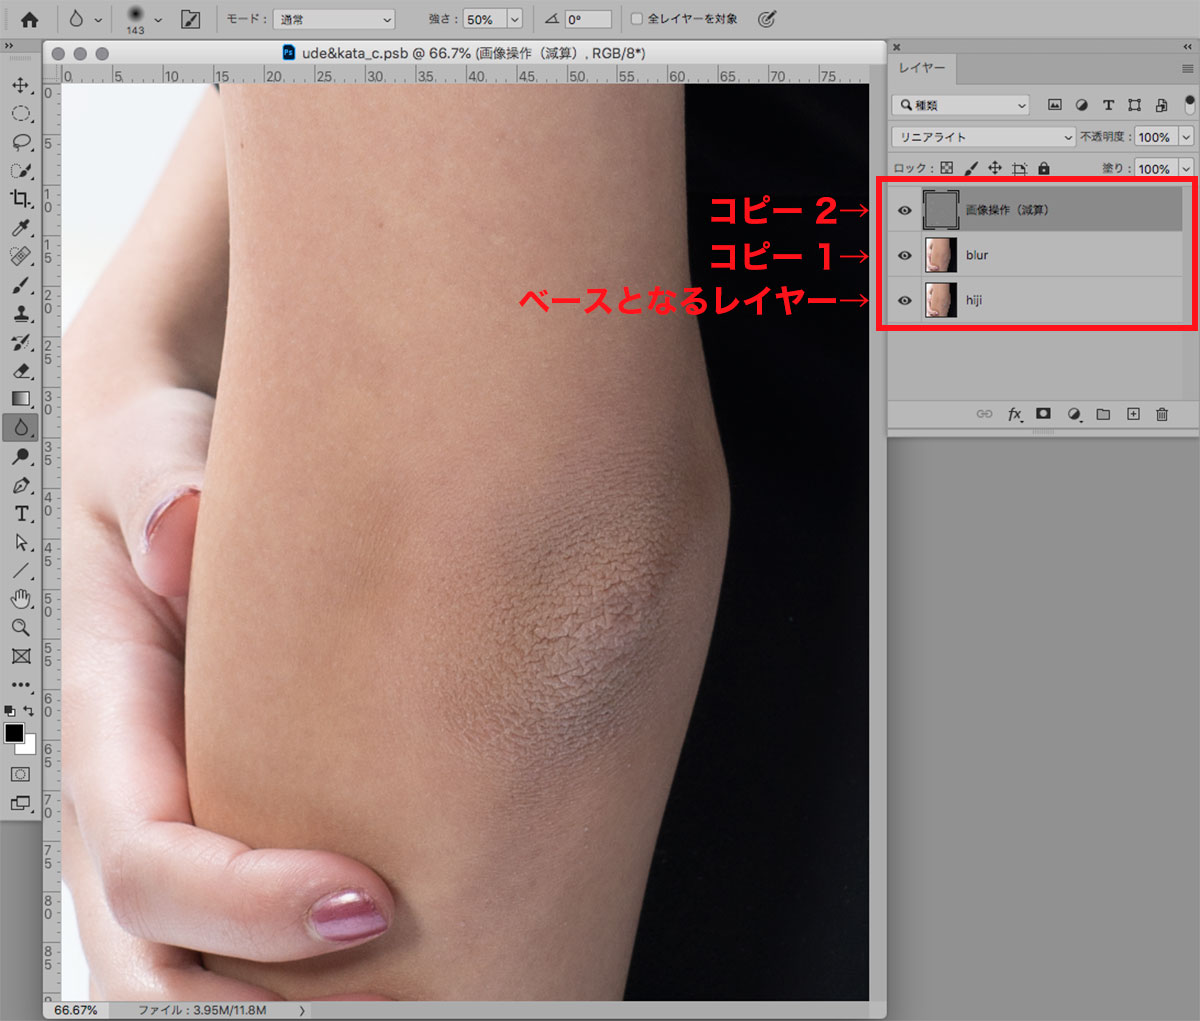
2) ベースとなるレイヤーを2つコピーします。(合計3つ必要です)
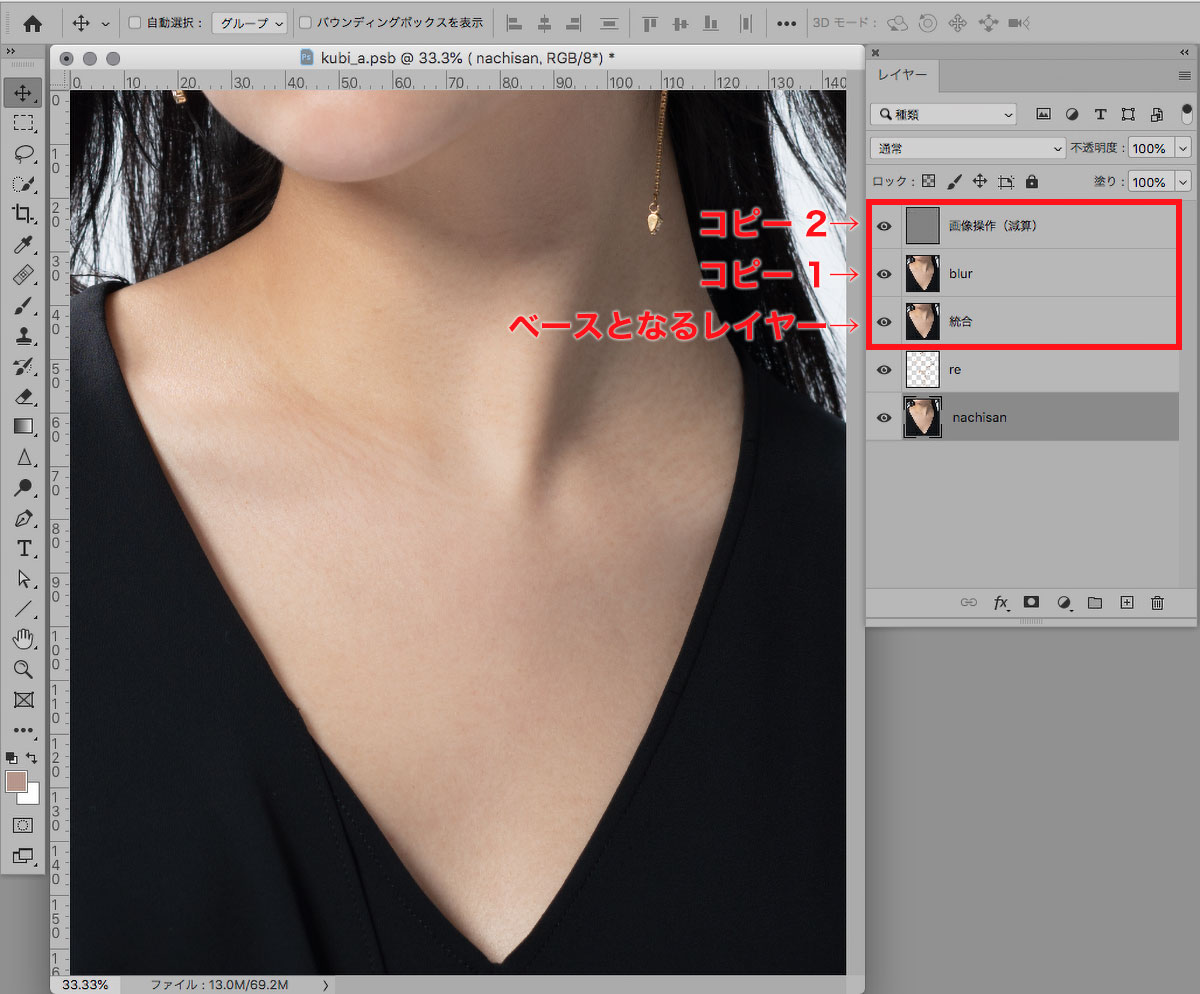
3) コピーした2つのレイヤーの内、下のレイヤーをぼかします(今回はガウスぼかし半径4pixで使用)。
レイヤー名は「blur」にしておきます。
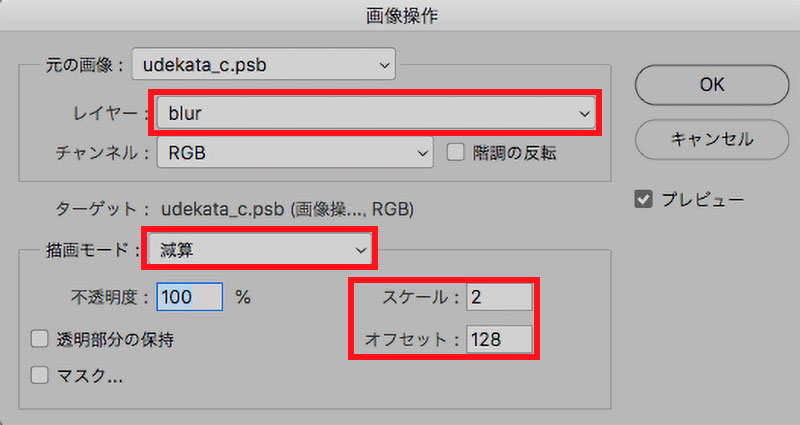
4) コピーした2つのレイヤーの上の方を選択して、イメージ→画像操作 と進み、以下のように設定します。
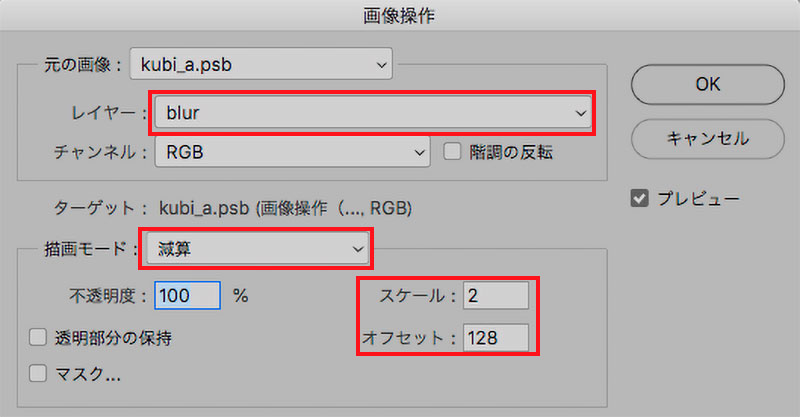
・レイヤー:プルダウンで「blur」を選択
・描画モード:減算
・スケール:2
・オフセット:128
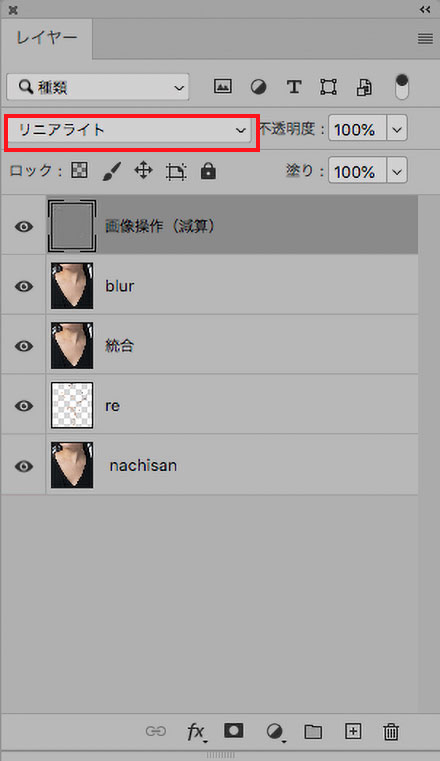
5) レイヤー名を「画像操作(減算)」としたら、このレイヤーの描画モードを「リニアライト」にします。
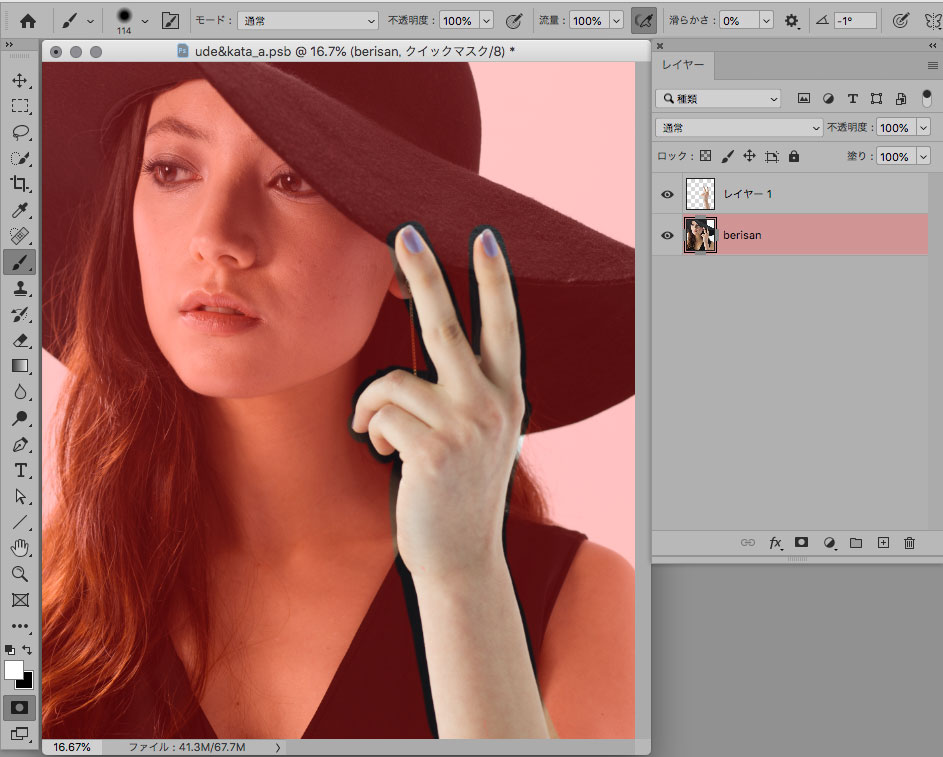
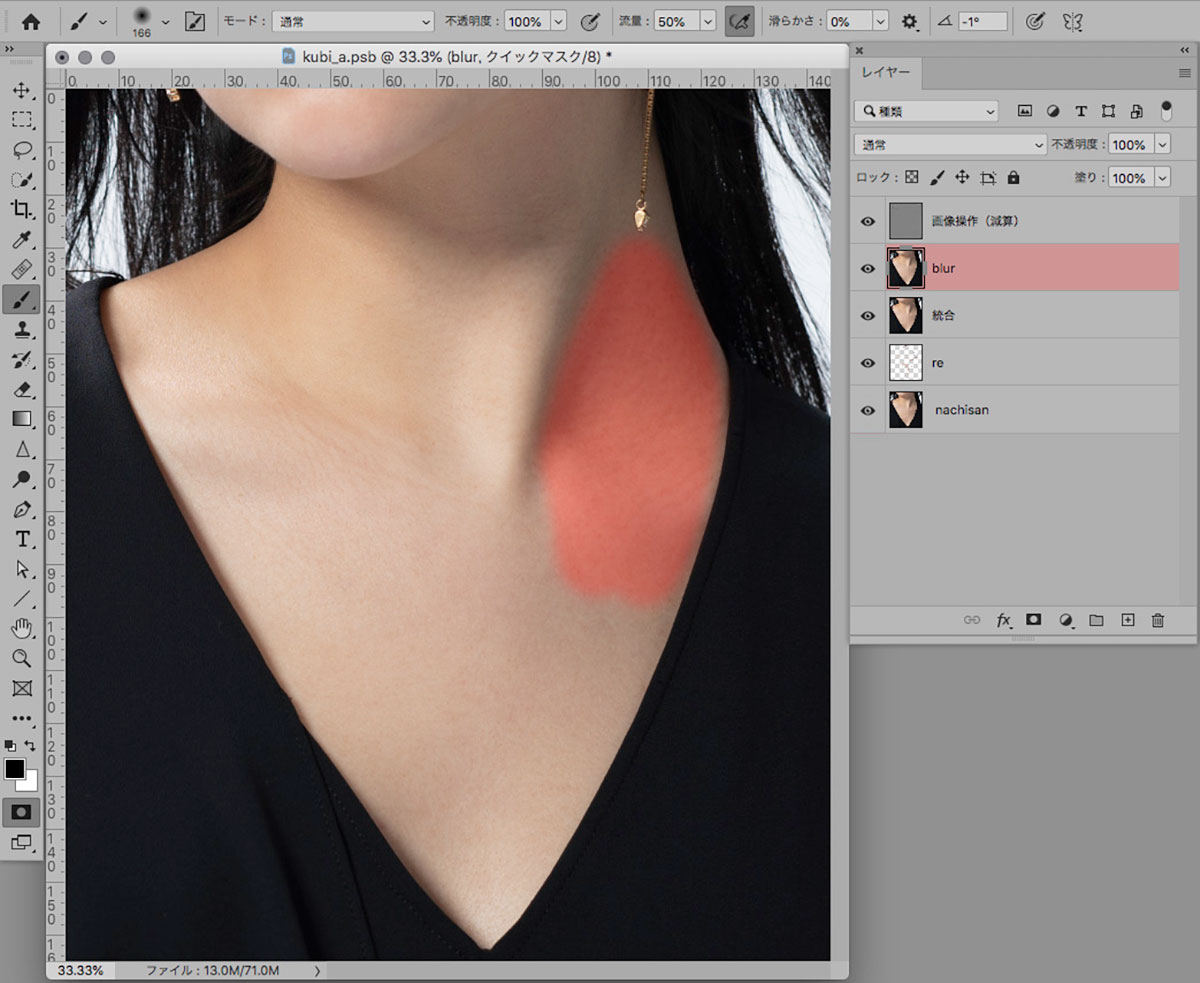
6) シワや毛穴が気になる部分をさらにぼかしていきます。「blur」レイヤーを選択した状態で、ショートカット「Q」(クイックマスクモードになります)→ブラシツールで気になる部分を塗ります。
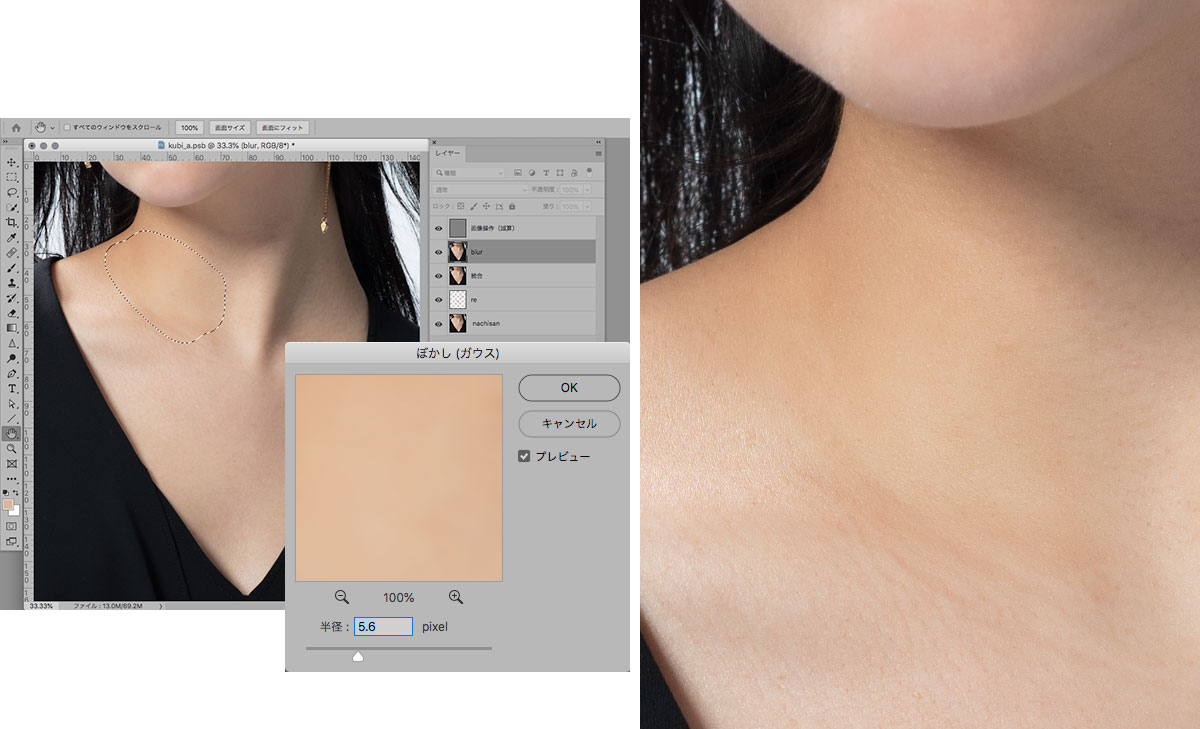
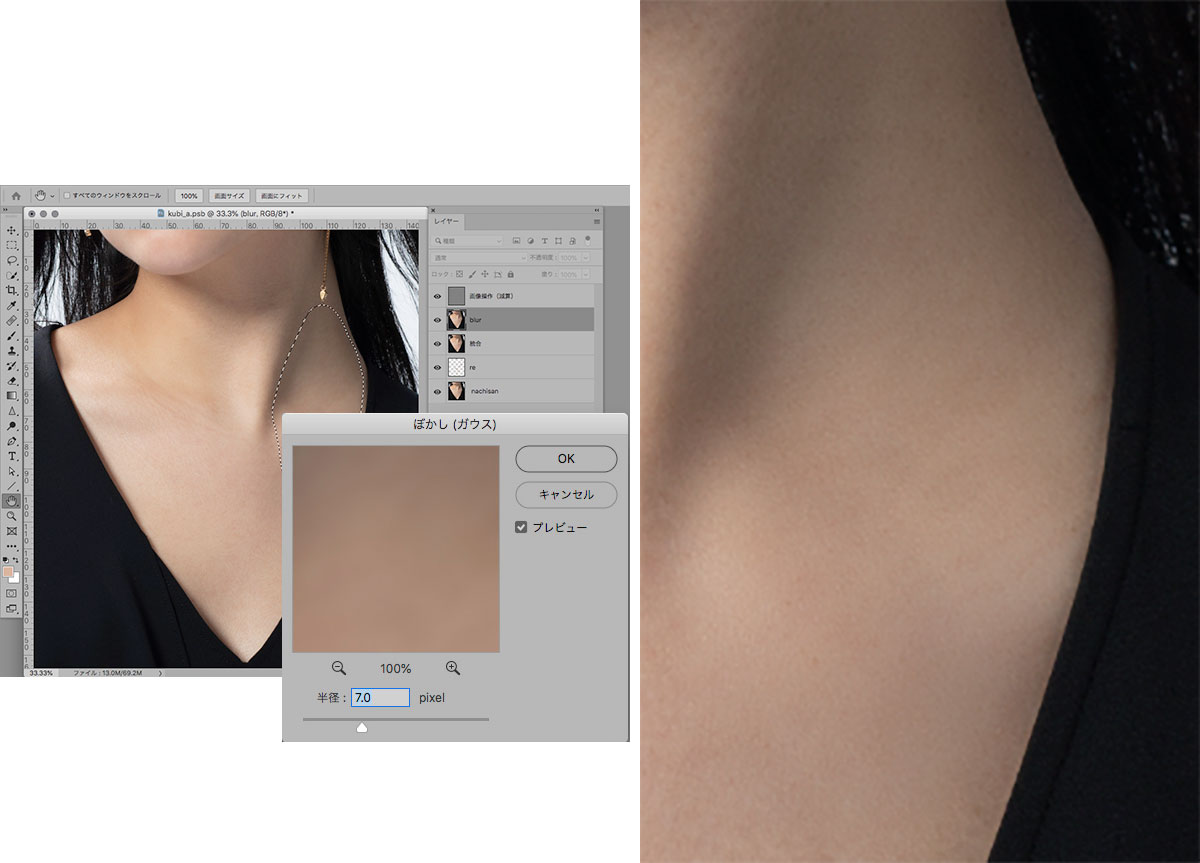
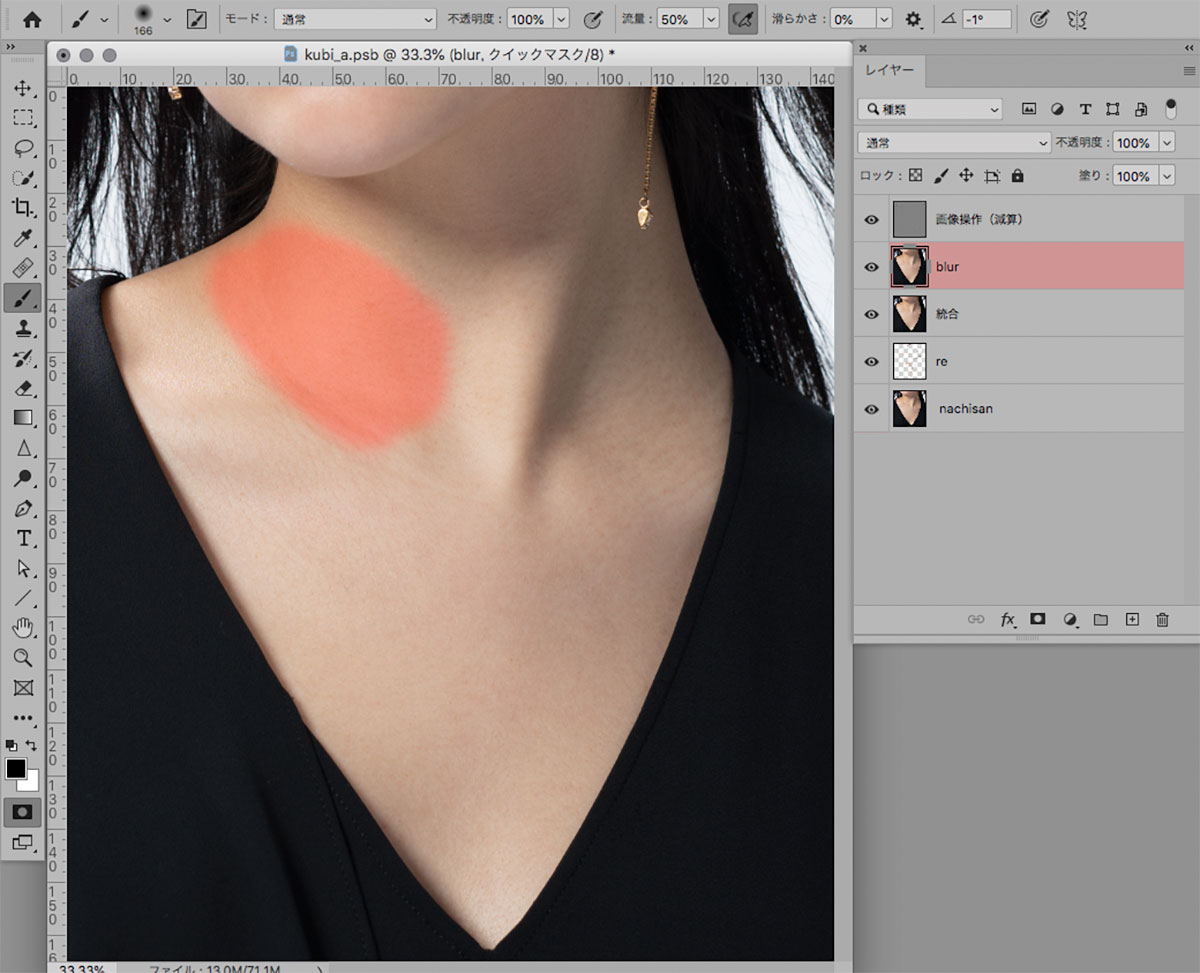 もう一度ショートカット「Q」を押すと、塗った部分が選択範囲になるので、シワや毛穴をぼかします(今回はガウスぼかし半径4〜7pixを使用)。
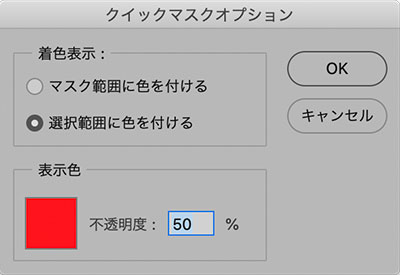
※この時、クイックマスクオプション(ツールバー下方の「クイックマスクモードで編集」をダブルクリックして表示)の「選択範囲に色をつける」がチェックされていることを確認してください。
7) 一気に全部やらず、肌の面ごとに細かく選択しつつ、ぼかしの強弱も場所ごとに調整します。
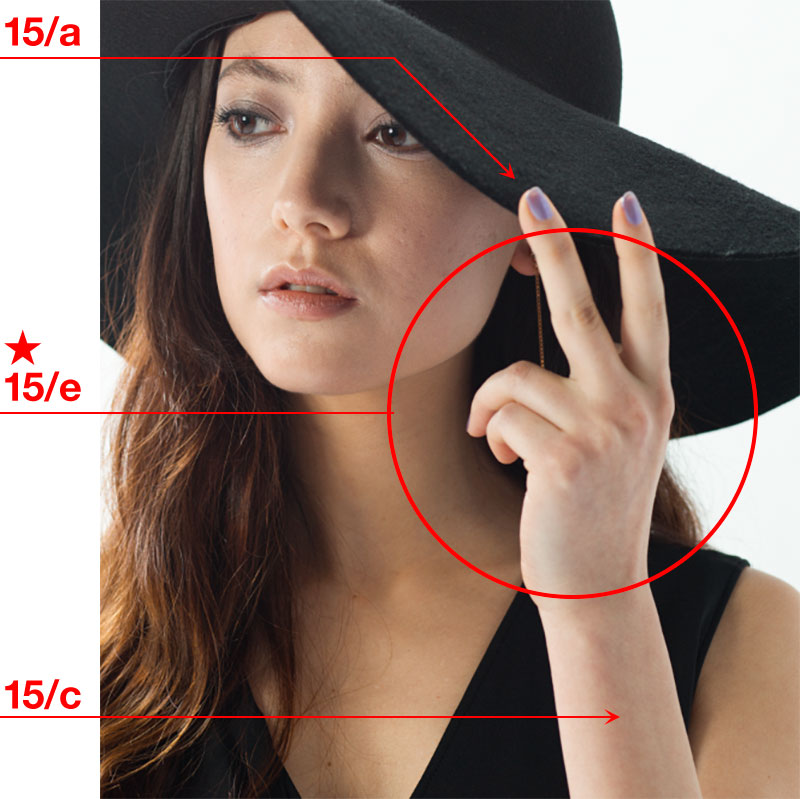
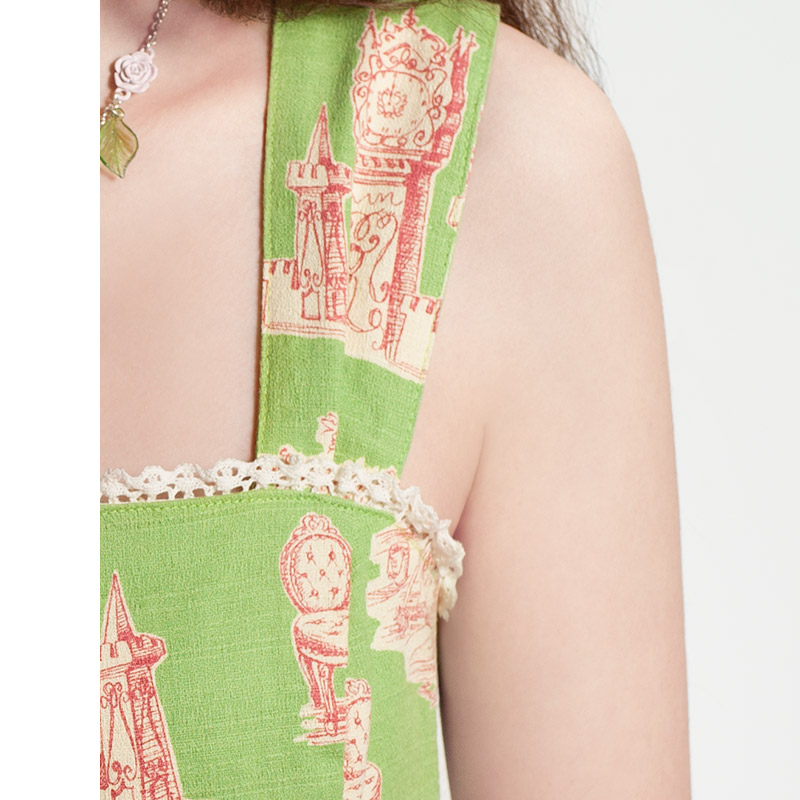
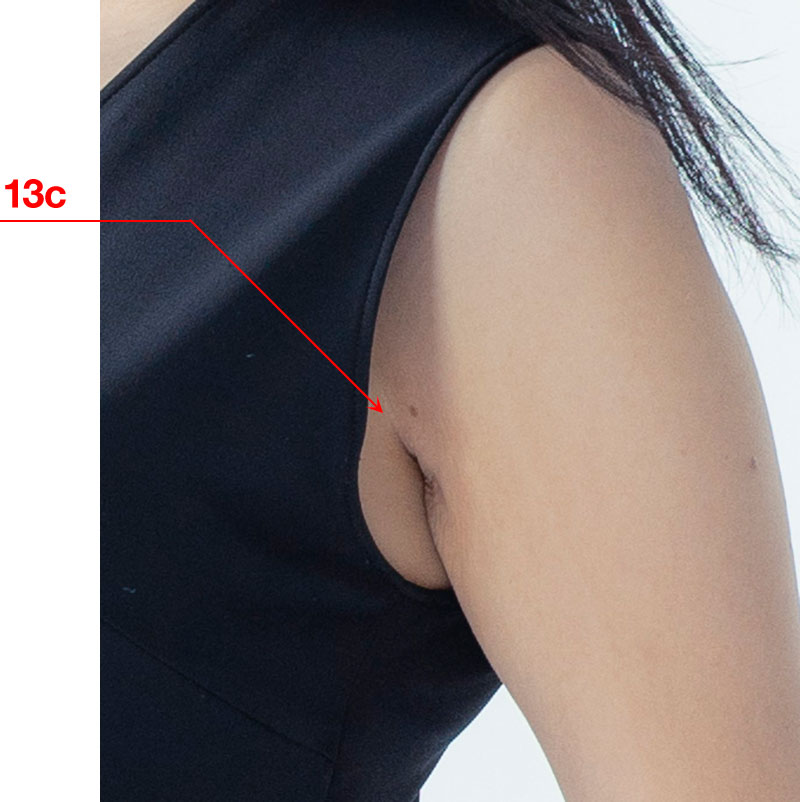
濱中メソッド⑬ 脇のチェックポイントは3つ
13/a…
脇のラインは基本まっすぐ1本!
13/b…
毛穴、黒ずみ、色ムラ、トーンムラはなじませます。やりすぎNGです。
13/c…
複雑な形状はなるべくシンプルに!
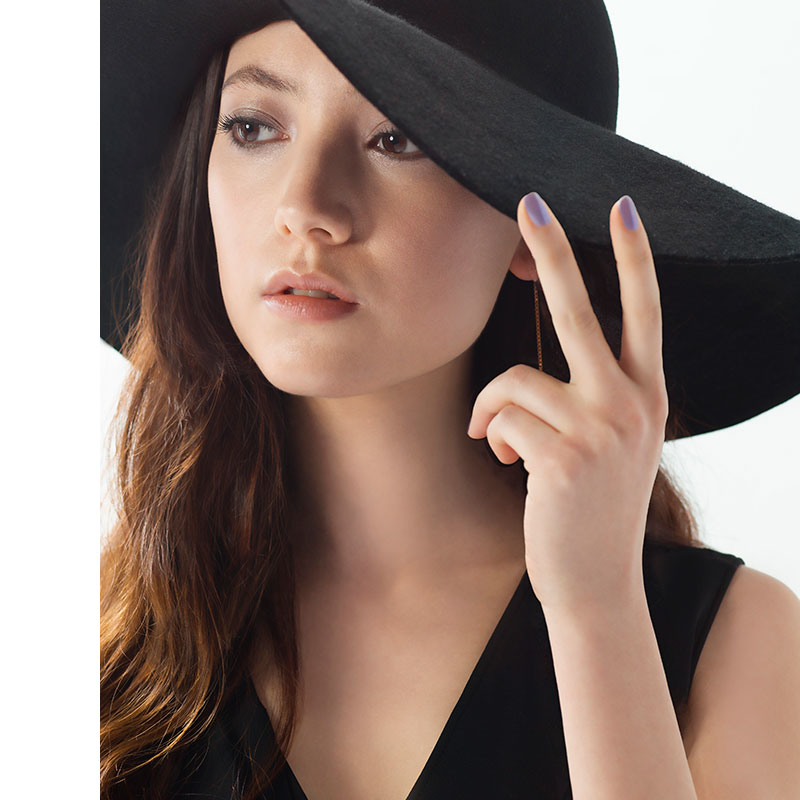
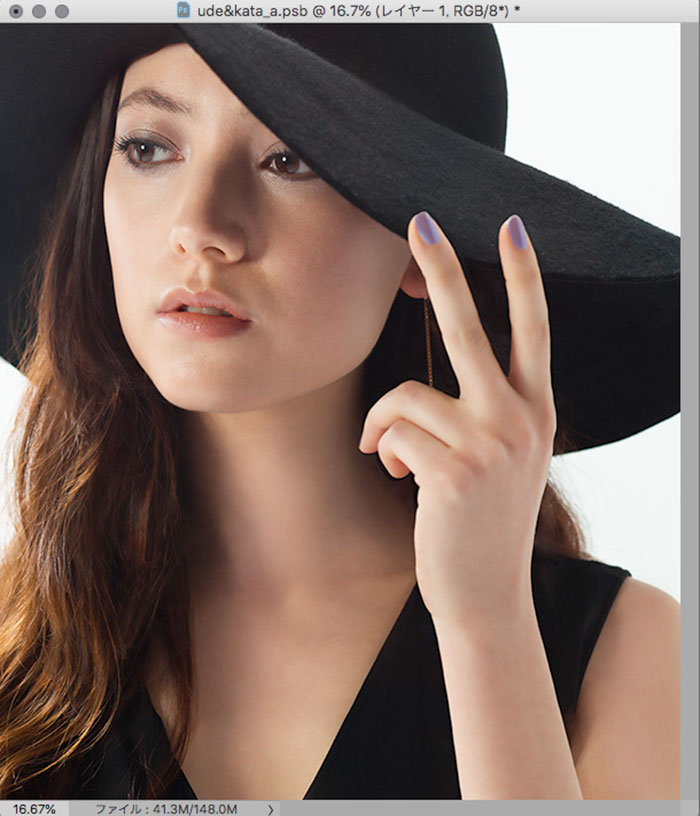
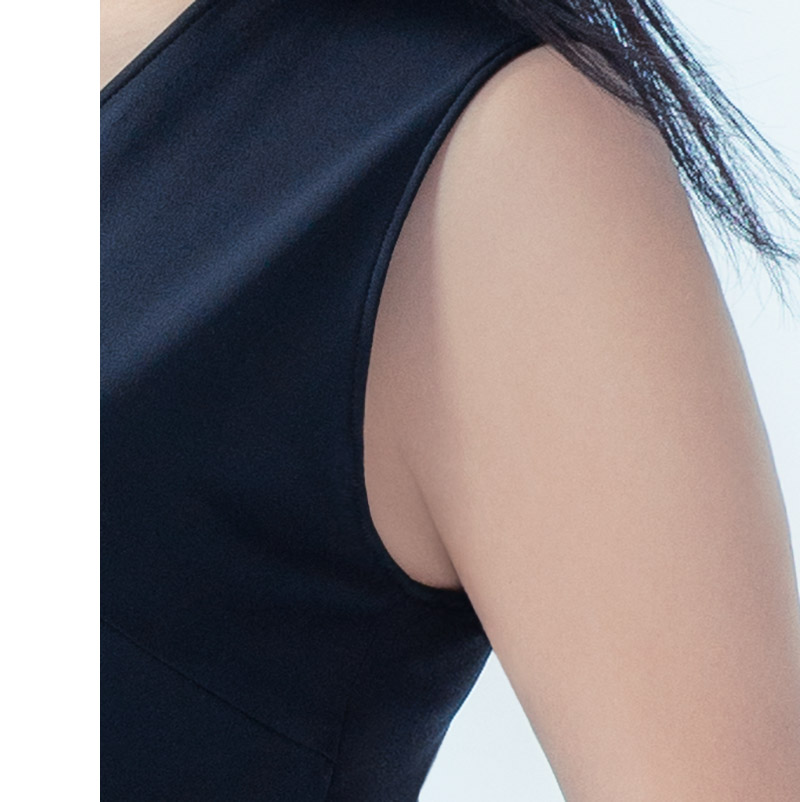
before & after
サンプルで見ていきましょう。
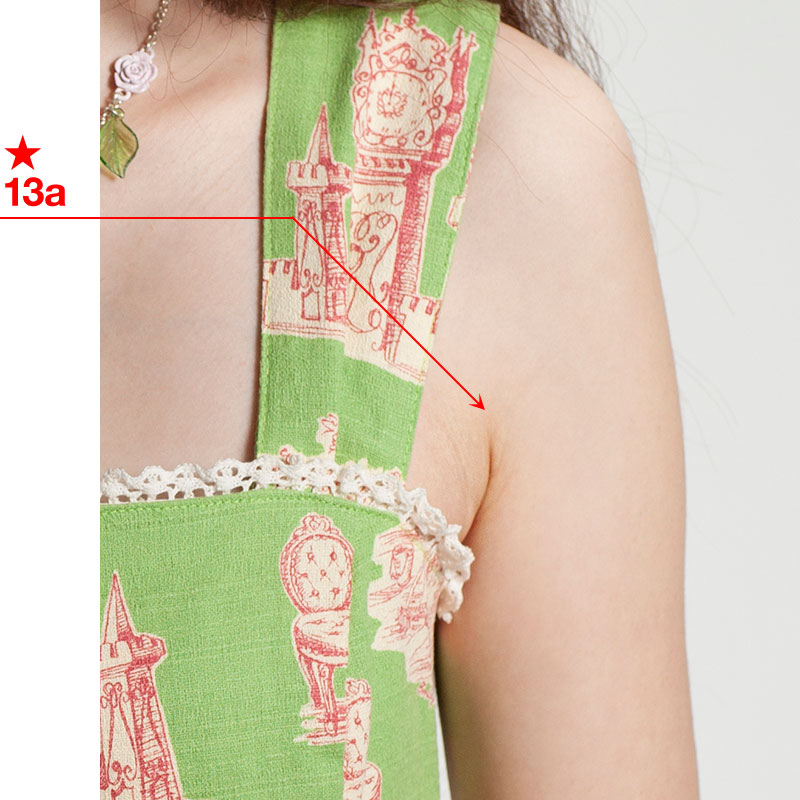
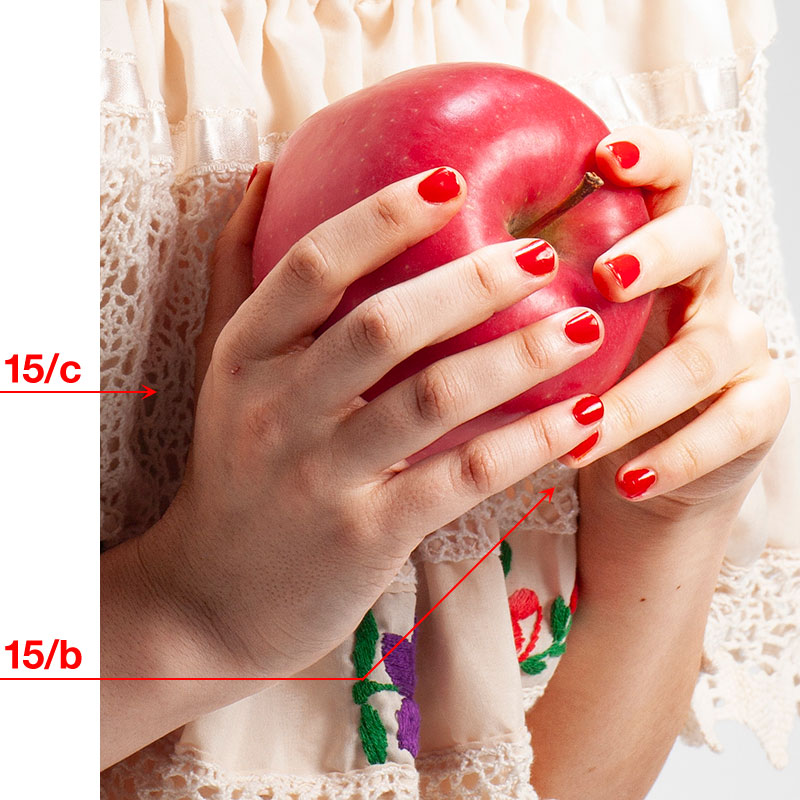
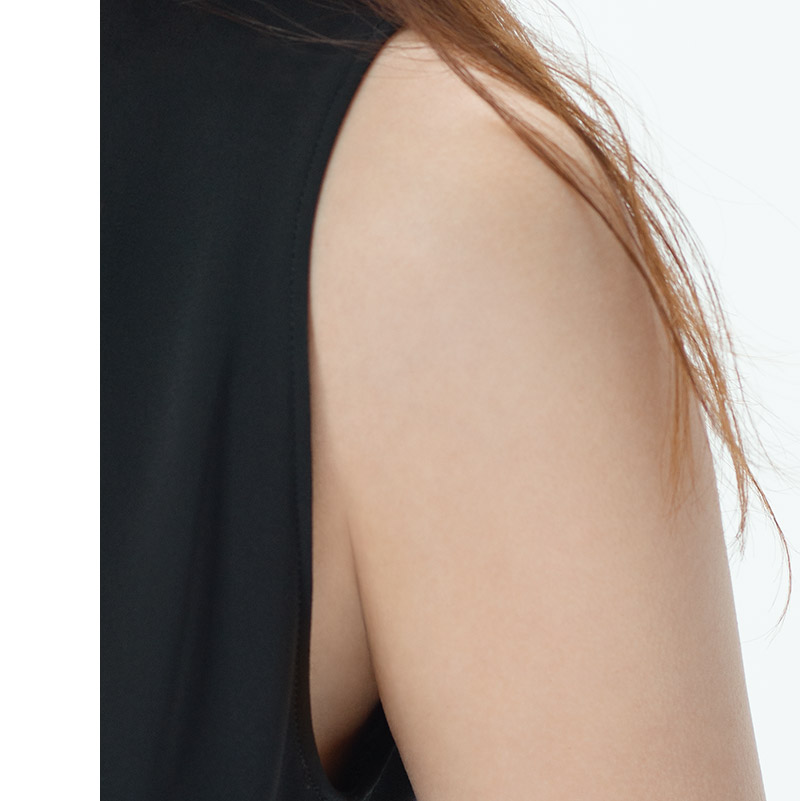
★13a.
脇のラインは基本まっすぐ1本!(何本かあったら1つにまとめる)
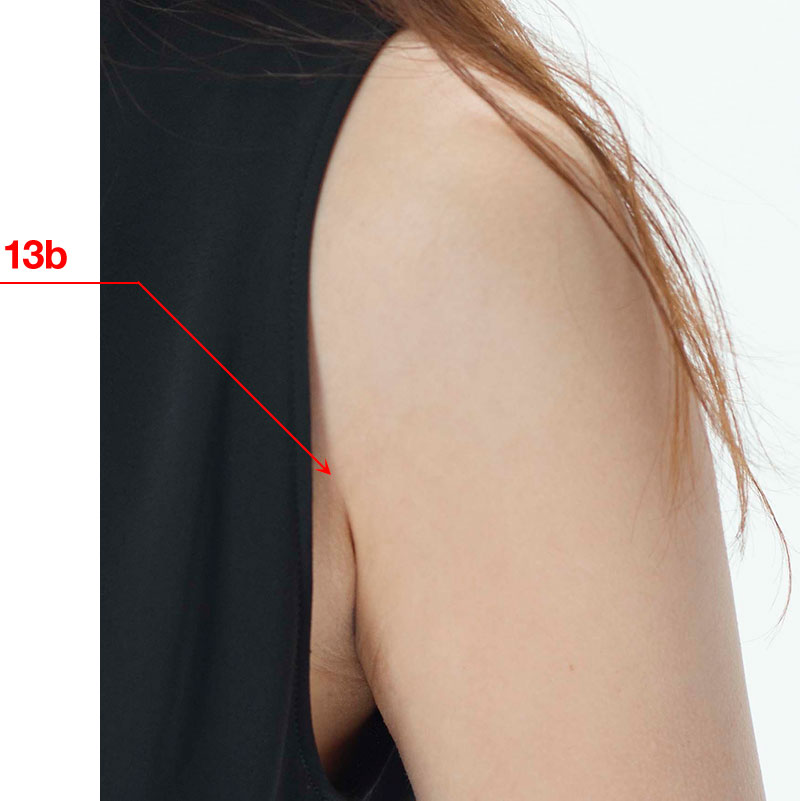
13b.
黒ズミ、色ムラ、トーンムラはなじませる!
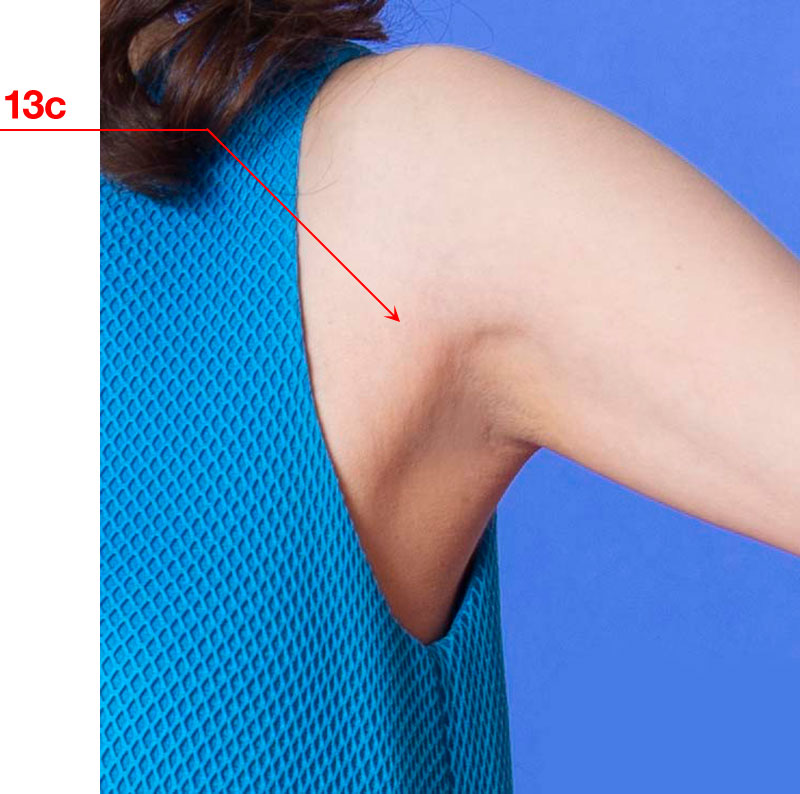
13c.
複雑な形状はシンプルに!

13c.
複雑な形状はシンプルに!
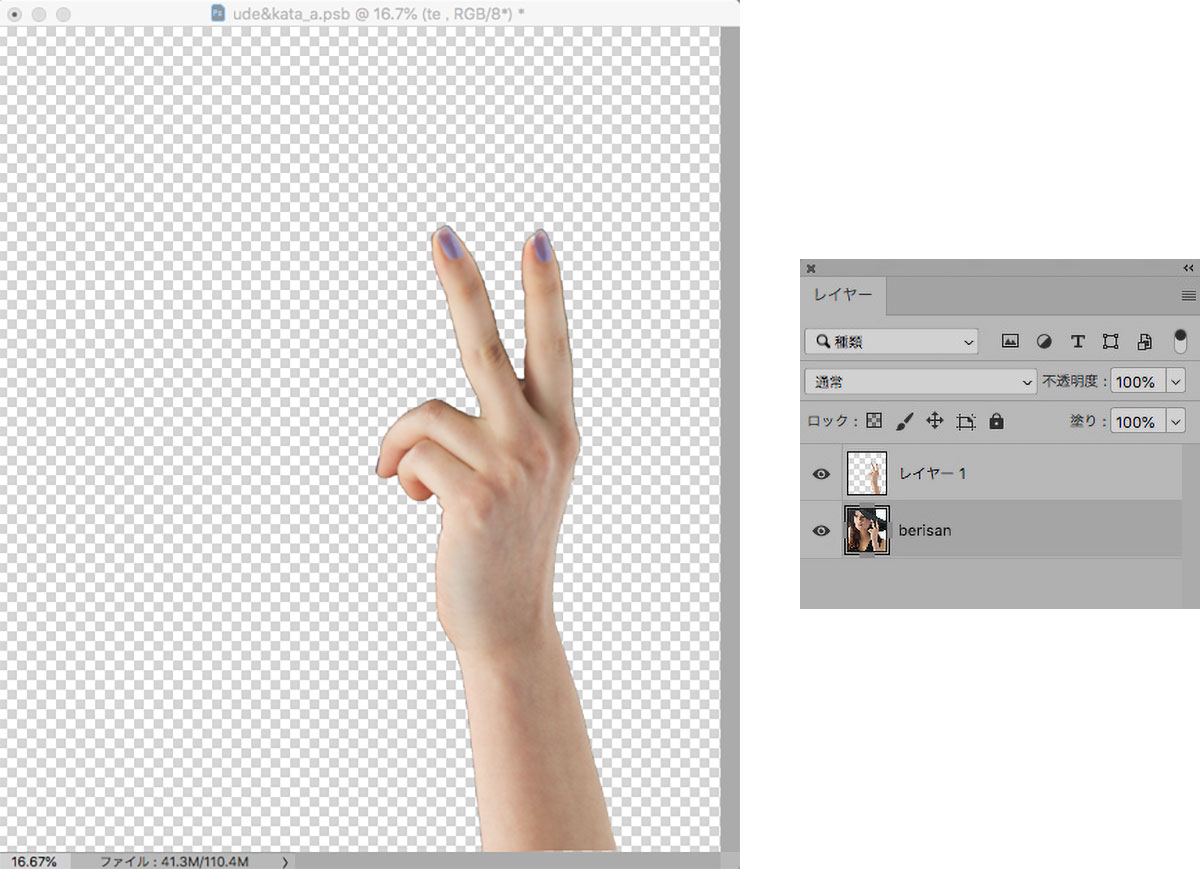
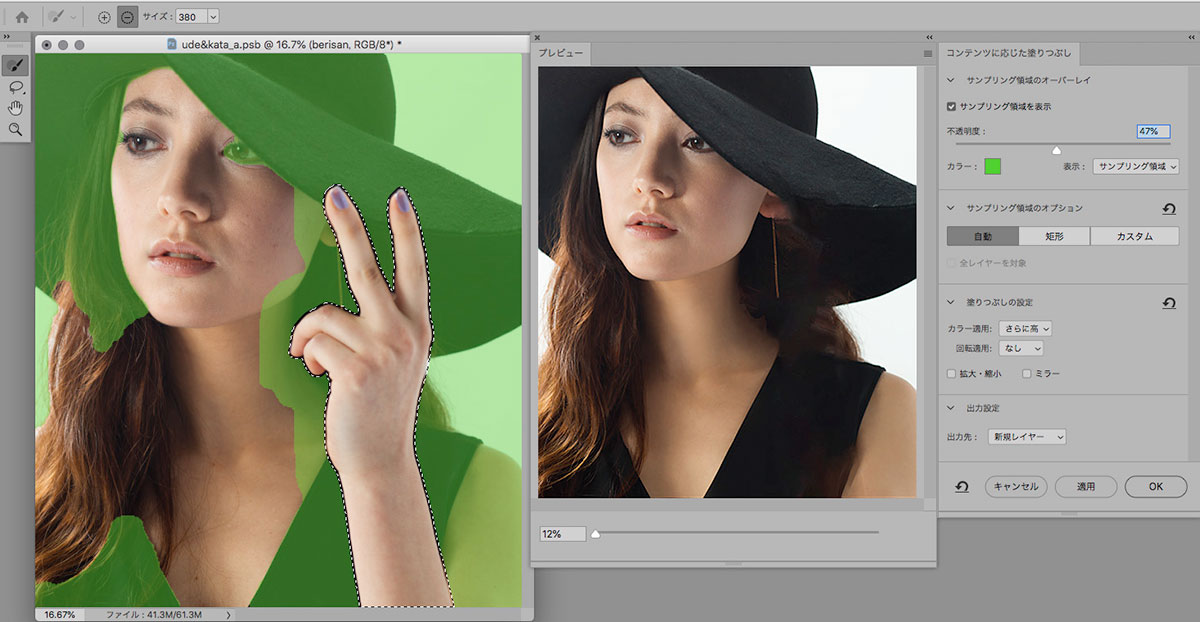
★13/a「脇のラインはまっすぐな1本線!」に使用したツール
![]() 最強になったワープの変形を使用します。
最強になったワープの変形を使用します。
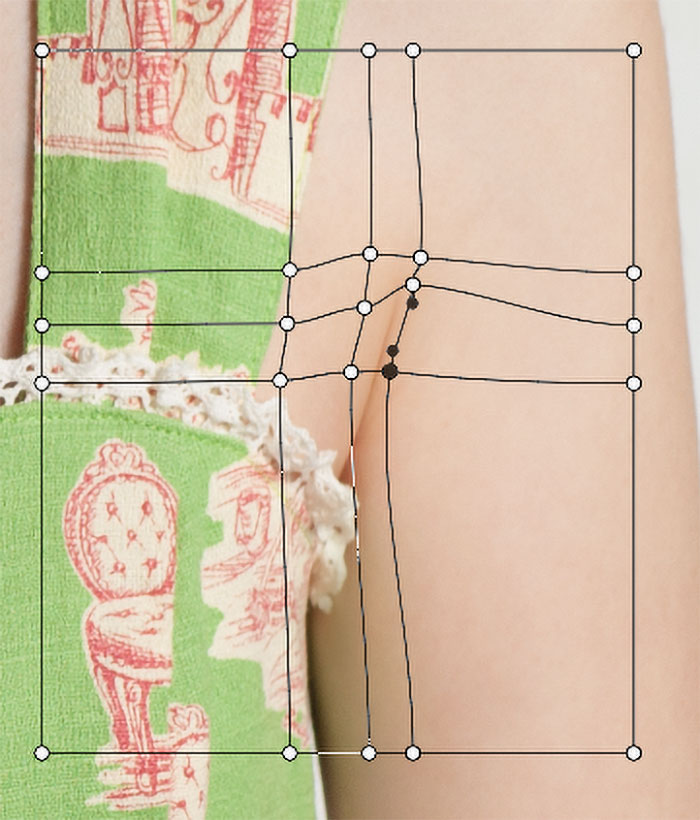
グリッドやアンカーポイントが好きな部分に増やせるようになったので、繊細で緻密な変形が一発で可能になりました!
ちなみにカスタマイズでこんなに増やせます!
髪の毛そよそよ&布ヒラヒラ、ちょっと変形したいという時に簡単!
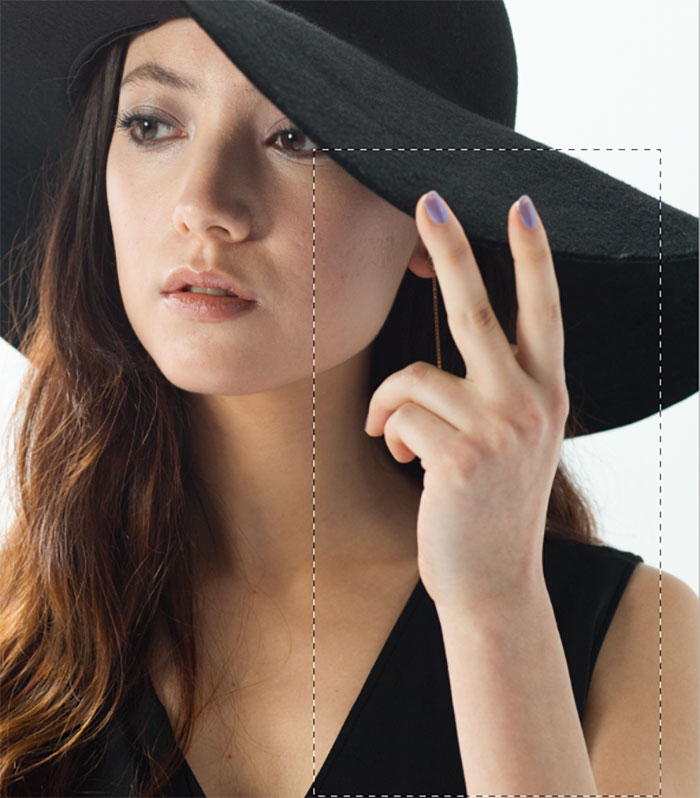
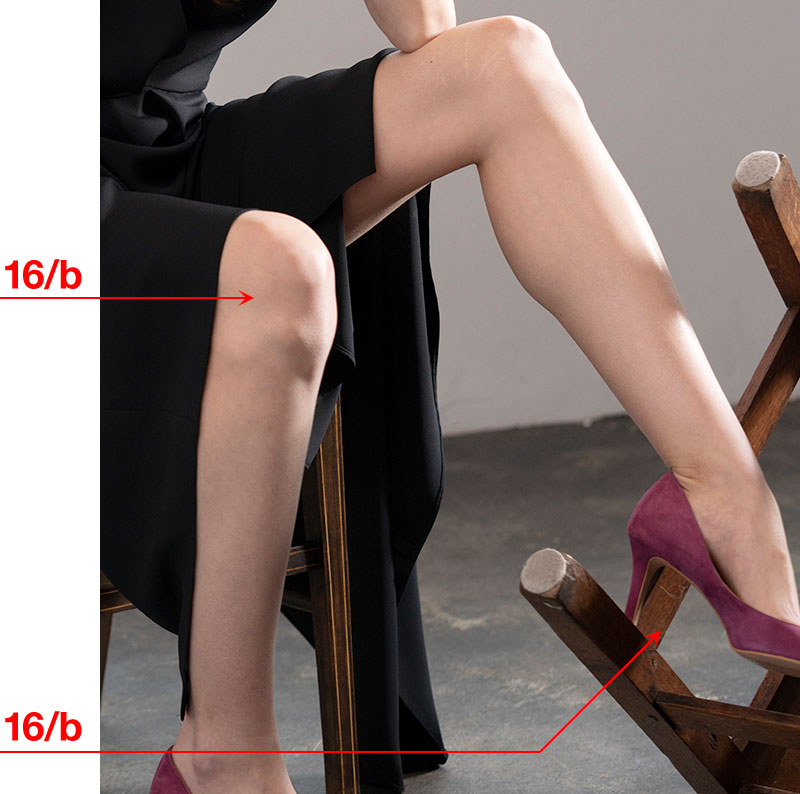
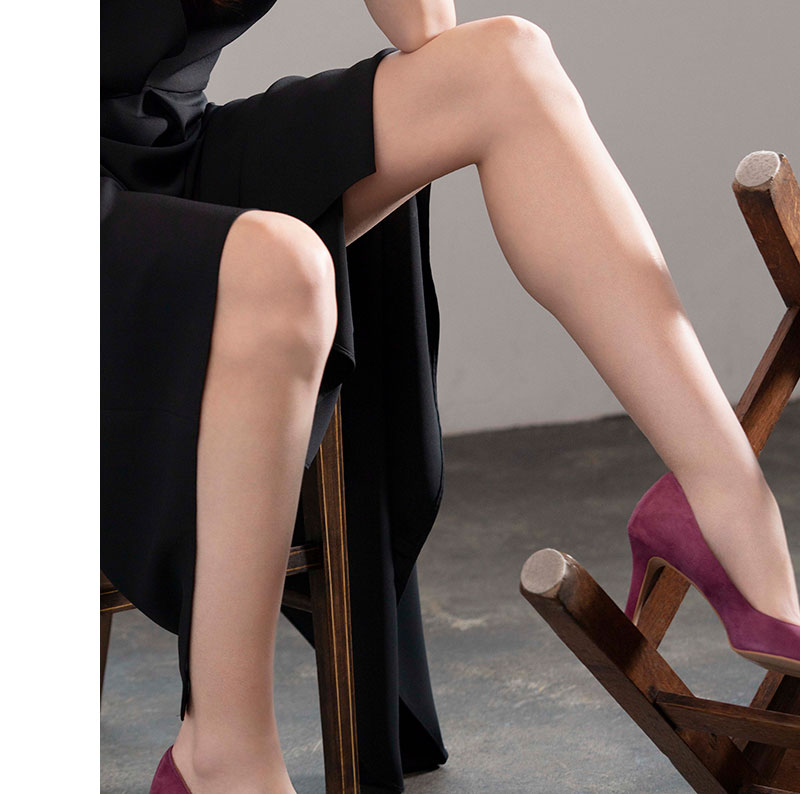
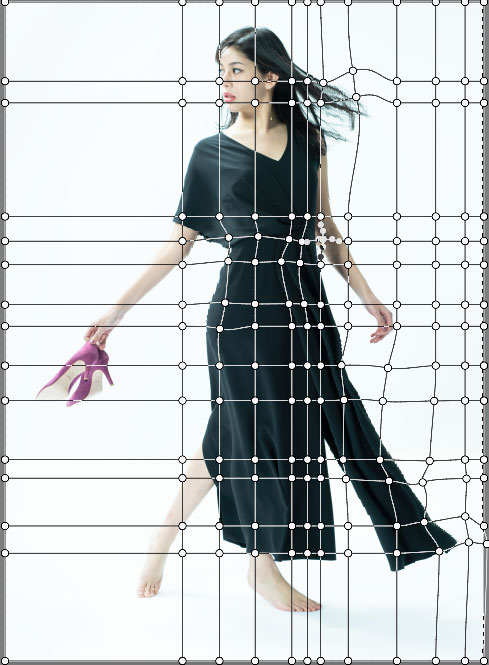
 ちょっとブレイク 全身のフォルムバランスの話

バストアップや顔アップだったら気にならない色々なバランスが、全身トリミングになった際に突然、微妙にアンバランスに見える時ってありませんか?
そんな時は…ほんのわずかに顔のサイズ、肩、腕、手、太もも、ふくらはぎのフォルムを調整する場合があります。
女性らしさを強調したい時は、ウエストや足首を微妙にほっそりさせる場合もあります。
また服に関しても、モデルさんの動きによって、よれたり折れたりしてフォルムが複雑になってしまった場合、シンプルな見た目にするのも良いでしょう。
全体のバランスをどうしたいか、オリジナルのままのが良いのか、レタッチャーのセンスが問われる所なのでいろいろ試してみてください。
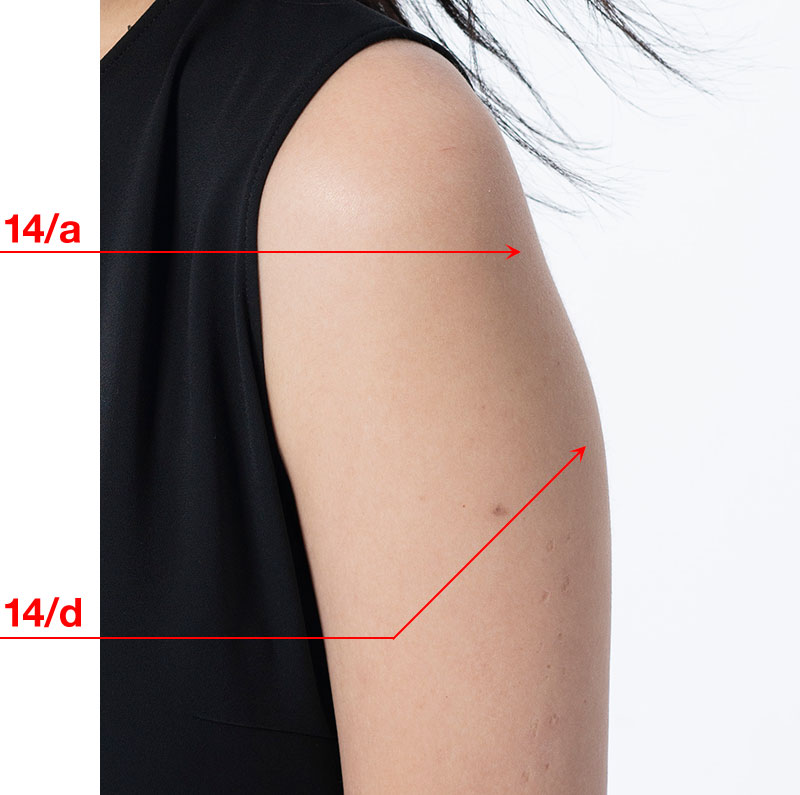
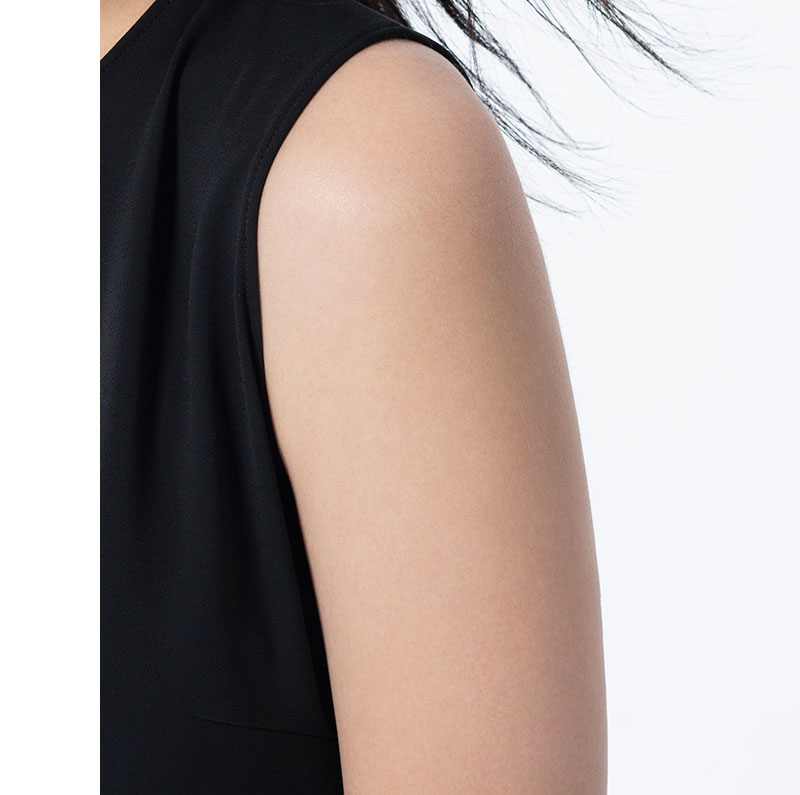
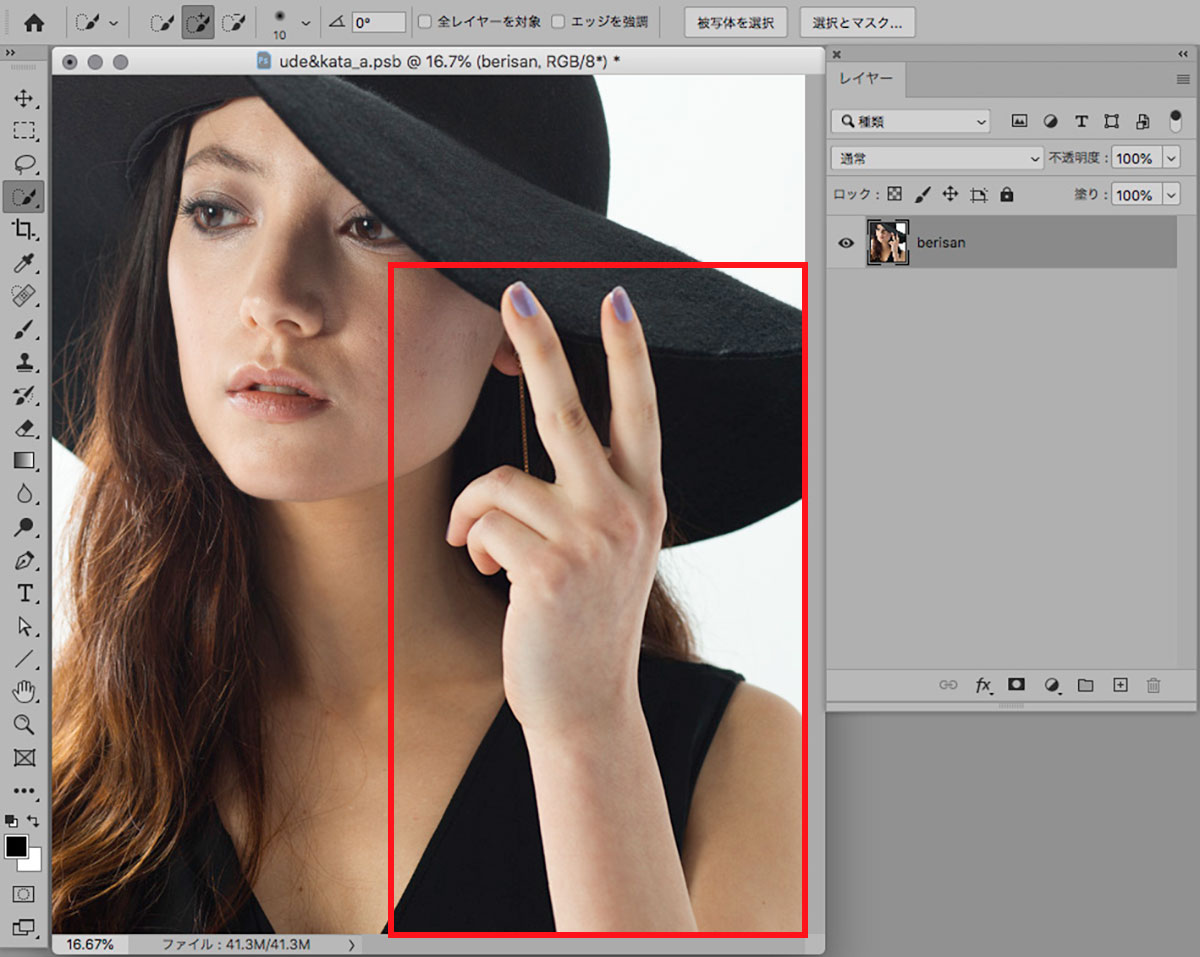
濱中メソッド⑭ 腕&肩のチェックポイントは5つ
14/a…
シワ、シミ、ホクロ、ウブ毛はキレイにしてすっきり!
14/b…
色ムラ、トーンムラも目立たなく!
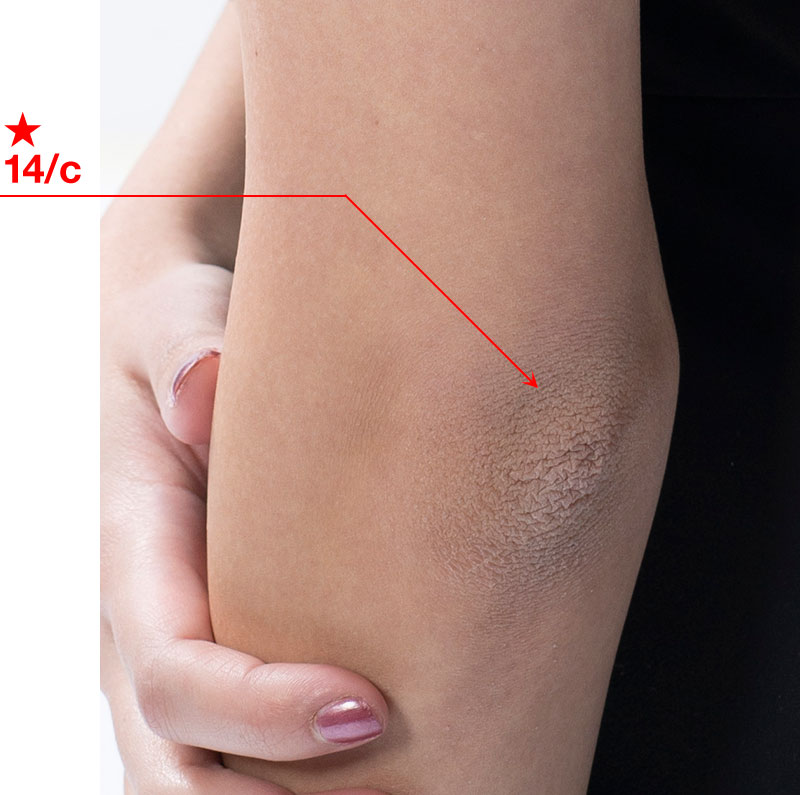
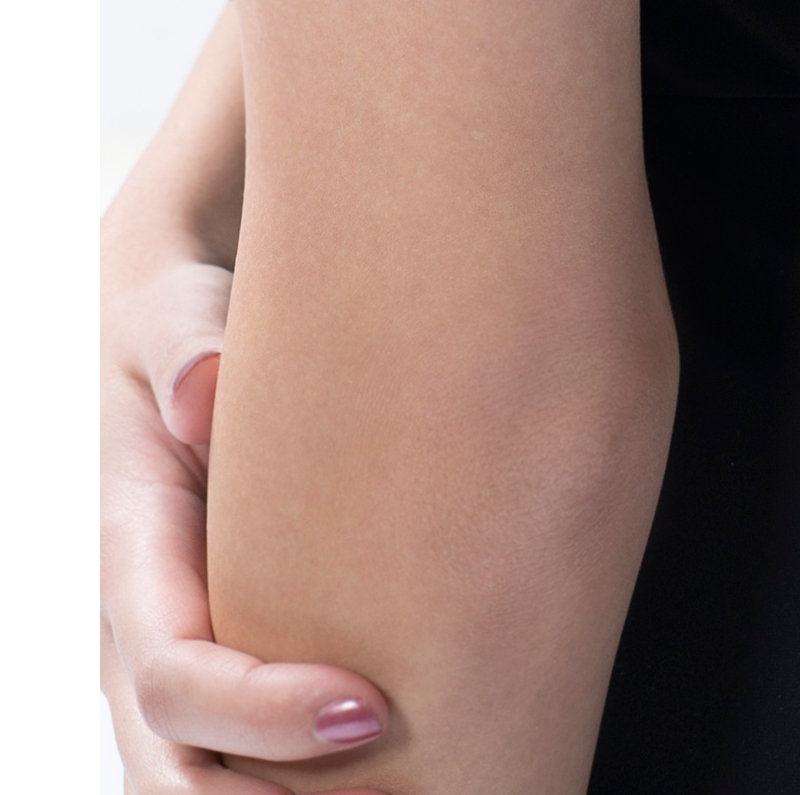
14/c…
関節などがカサついていたら滑らかに。
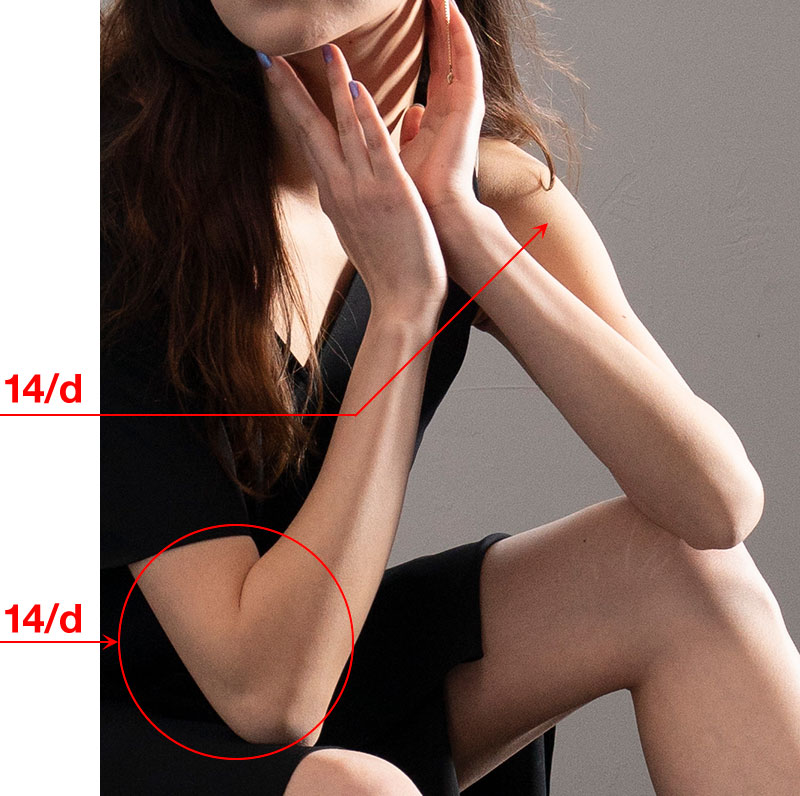
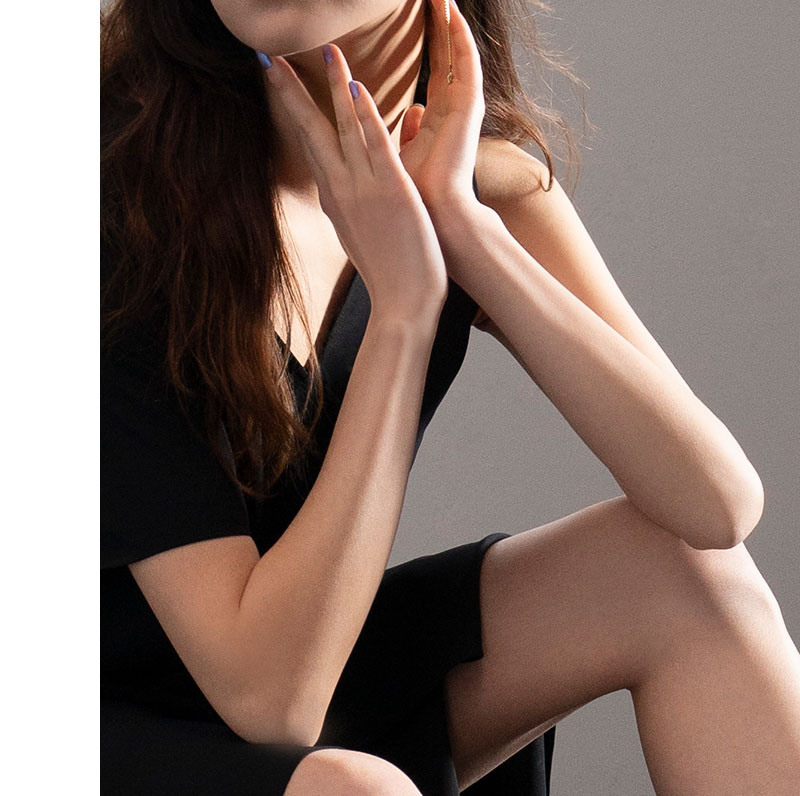
14/d…
女性の場合は女性らしいフォルムに!
14/e…
顔とのバランス&全体のバランスをチェック!
衣装によっては腕や肩を少しほっそりさせたり、場合によっては逆に顔を少し小さくする場合もあります