TAG
TAG- Final Cut Pro
2011年05月23日
HD時代になって、映像はSD時代の数倍の解像度を持つようになったが、高解像度化の進むデジタル写真はフルHDのさらに10倍以上の解像度を持つものも現れている。その高解像度を活かしてFinal Cut Proのモーション設定を使うと面白い動画を作成できる。画像の一部をトリミングし、画面範囲をキーフレームによるアニメーションで移動させることで、擬似的なカメラワークをつけることが可能になるのだ。
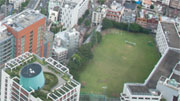
トリミング位置を変更して風景写真をパンニング
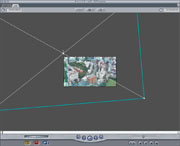
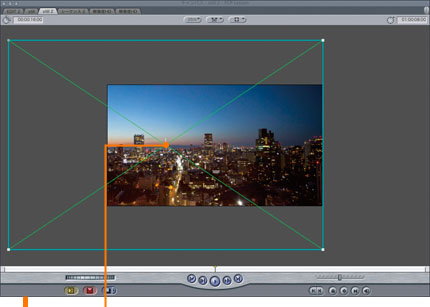
シーケンスの解像度設定と異なるファイルは、タイムラインに乗せるとシーケンスサイズに合わせて変倍され、縦もしくは横がピッタリになるように調整される。自動変倍をリセットすると高解像度な写真は一部しか表示されないが、その位置を動かすことでパンニングする。
 シーケンスに合わせて自動的に縮小

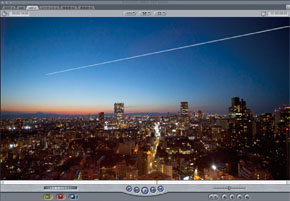
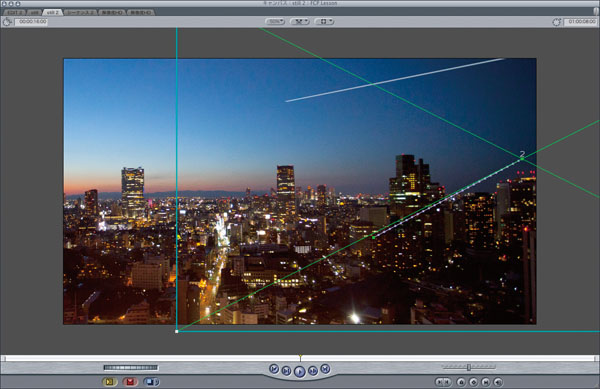
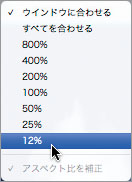 写真のトリミング位置を把握しやすいようにキャンバスの表示を「12%」に変更
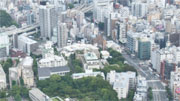
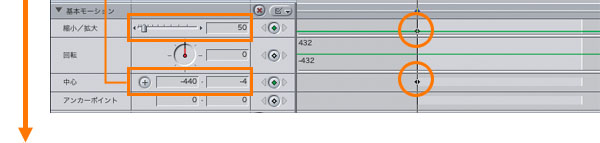
キーフレームを打ちながら、写真の位置、回転等を変えていくことでカメラワークを作る。写真の解像度(ピクセル数)が高いと操作レスポンスやレンダリングがひじょうに重くなる。古めのMacやメモリーが少ない場合は厳しいかもしれない。
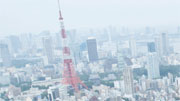
描き足した飛行機雲を別々に動かして複雑なアニメーションに
マジックアワーの光が落ちる空に、ひとすじ伸びていく飛行機雲を追いかけるようにパンするカメラ。高解像度写真にレイヤーを重ね、飛行機雲を描き足した写真から作る動画。
▲元画像は写真と飛行機雲の2レイヤー。
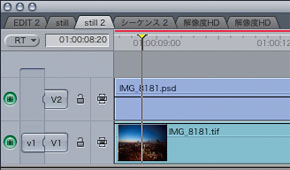
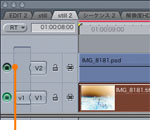
▲レイヤー別に書き出した写真を上下のビデオトラックに配置する。
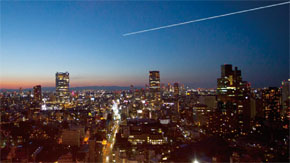
夕景写真を右下から左上にパンニングする
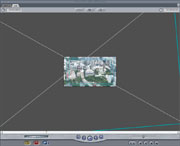
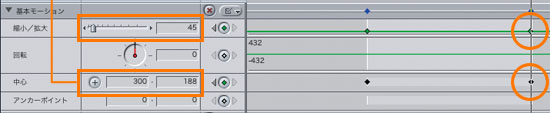
まず最初に基本のカメラワークとして、写真にパンを設定する。ここではカメラがゆっくり左上にパンしながらズームバックする動きを設定。
 「ビデオのオン/オフ」で飛行機雲トラックをいったん非表示に。

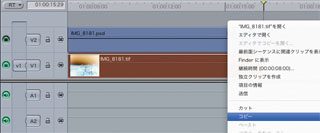
作成した「基本モーション」設定を飛行機雲にコピーし、動きをシンクロさせつつアレンジ
上のトラック(飛行機雲)を再表示して選択、「パラメータをペースト」でモーション設定をペースト。さらに飛行機雲の動きを追加して完成。
「ビデオのオン/オフ」をクリックして元に戻し、飛行機雲を表示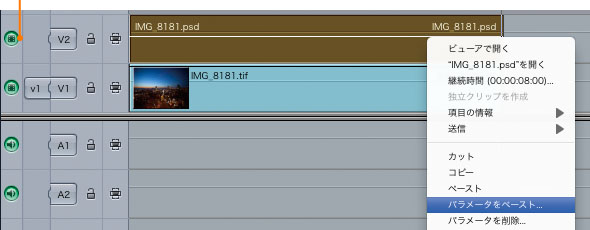
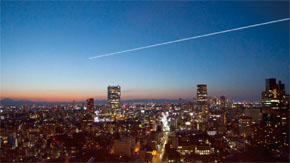
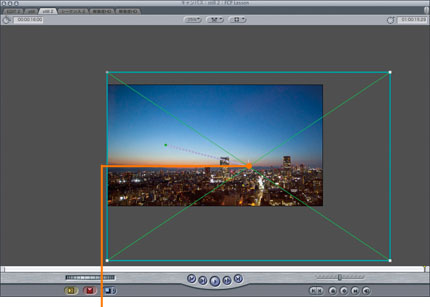
 ▲開始位置は右手上方へ移動。
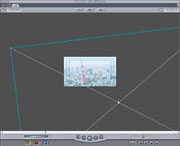
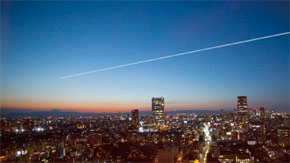
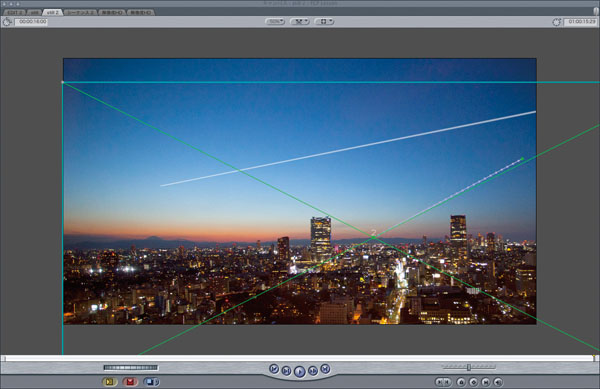 ▲終了位置は左手下方へ移動。
※この記事は「Final Cut Pro 実践講座」から抜粋しています。
玄光社MOOKFinal Cut Pro 実践講座
Final Cut Proを快適に使いこなすために、必要な機能だけを厳選し、分かりやすく解説。基本から応用、実践まで、ステップ バイ ステップでマスターできる。
定価2,499円(税込)
斎賀和彦 Kazuhiko Saika
CM企画/演出時代にノンリニア編集勃興期を迎える。現在は駿河台大学メディア情報学部、デジタルハリウッド大学院等で理論と実践の両面から映像を教えながら、写真、映像作品を制作。
ブログ http://mono-logue.air-nifty.com/
ツイッターアカウント http://twitter.com/SAIKA