TAG
TAG- Photomerge , トーンカーブ , マスク
2011年11月09日
今回は光のコントラストや影をマスクとトーンカーブを使ってコントロールすることで、独自の空間表現を行なうためのテクニックを解説する。
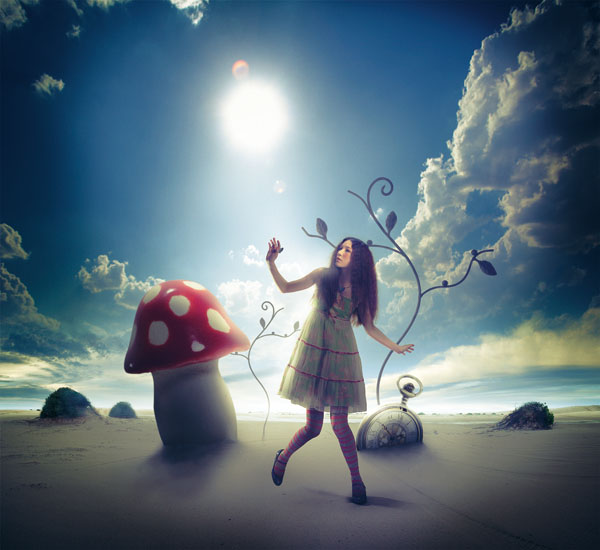 Photo:片岡竜一 ST:松下静 Make:中山夏子 Hair:野元洋 Model:Kalina
衣装協力:エミリーテンプルキュート ラフォーレ原宿店 TEL 03-3404-7766
非日常的な空間を表現するために自然光をデフォルメする
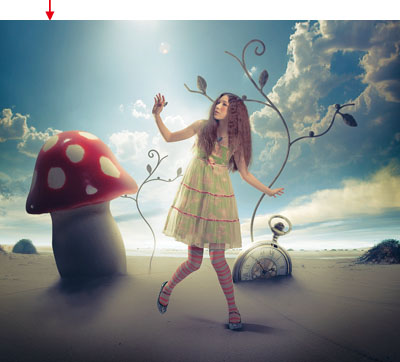
今回の作例のイメージは童話の世界のワンシーンをモチーフにしている。そのため、日常空間とは違う世界を感じるような絵作りを目指した。写真という自然画像の素材をどのように処理すれば「不思議の国のアリス」に出てくるような異空間を表現できるのか? そのレタッチは光と影をデフォルメすることがポイントとなる。
まず背景には、広がりと奥行きを出すために複数枚の写真を使いPhotoshopの「Photomerge」機能でパノラマ写真を作った。さらに横方向だけでなく、上方向への空間の広がりをもたせるため、空の写真を合成。
しかし、このままでは自然画像を組み合わせて合成しただけの風景写真なので異空間には見えない。
そこで遠近感を強調するために地平線を明るくし、逆に画面の手前と周辺部を暗く落とすことでトンネルの中から明るい出口を見た時のような奥行き感の効果を加えた(「マスク作成時のブラシのサイズとボケ足に注意」の項)。さらにキノコや時計、人物などの合成素材には逆光のトーン補正を施すことで ドラマチックなイメージに仕上げることにした(「どんなイメージの光にするのか?逆光と影をどう描けばよいのか?」の項)。
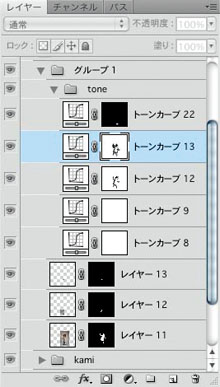
レタッチの手法としては、複数のマスクとトーンカーブを使い、画面全体への光の回り込みを制限したり、影を描くという処理を行なっていく。
Photoshopの「Photomerge」で複数の画像からパノラマ写真を作成
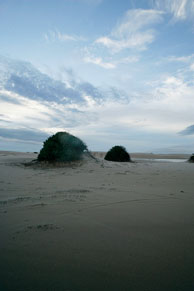
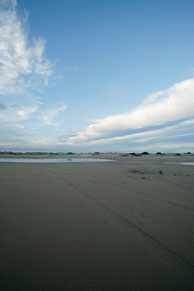
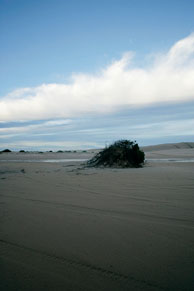
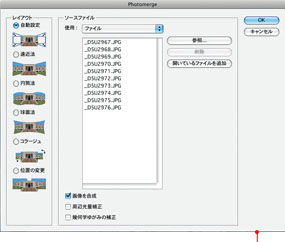 Photoshopの「ファイル→自動処理→Photomerge→参照」から複数の撮影画像を選択し、自動設定するだけでOK。今回は上の3枚の画像含め10枚の写真を使った。
上方向に広がりを作るために空を合成

空間を上方向へ拡げるための太陽と空の風景写真。
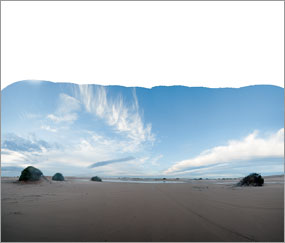
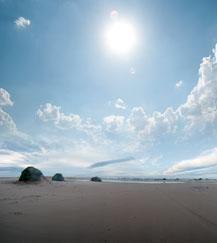
『Photomerge』で自動合成したパノラマ画像。
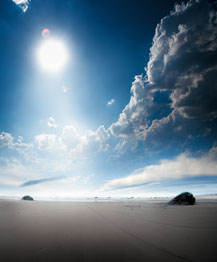
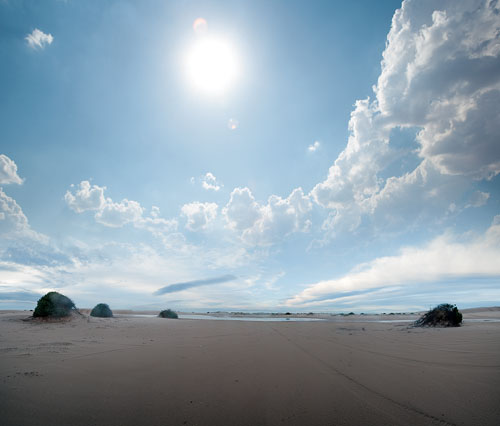 実際はこれだけワイド画面の風景ではあり得ないような大きさのサイズで太陽を合成。人間のスケール感覚は、普段見慣れた太陽の大きさや全景のワイド感を変えるだけで、まるで違う惑星での風景のように敏感に感じてしまうから不思議だ。
マスク作成時のブラシのサイズとボケ足に注意
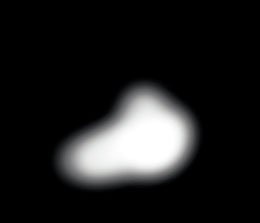
光と影を加減するマスクを作る方法はいくつかあるが、肝心なのはマスクの境い目(境界線)をわからないようにすること。そのためにはブラシの「流量」と「ボケ足」の設定がポイント。
![]() ブラシの「流量」は少なめにして、描き重ねたり、消したりを繰り返していく。そのときに積み重なりで生じる微妙なムラが空気感や立体感の演出に繋がる。
ブラシの「流量」は少なめにして、描き重ねたり、消したりを繰り返していく。そのときに積み重なりで生じる微妙なムラが空気感や立体感の演出に繋がる。
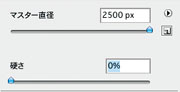 ブラシのボケ足が硬すぎると、いかにも「描いた」と見える痕跡が残ってしまうので、「硬さ」は最小「0%」に設定すると良い。
奥行き感を調整した画像。マスクの境界にボケを入れているとトーンジャンプが起きやすいので、最後にマスク画像に適度なノイズを加える。
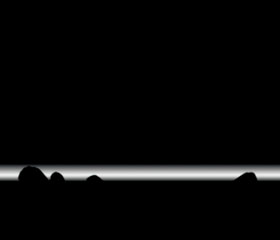
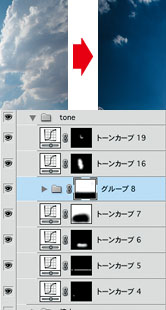
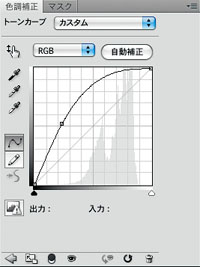
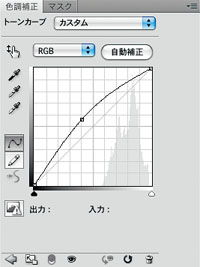
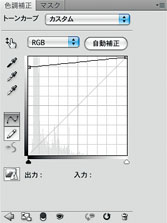
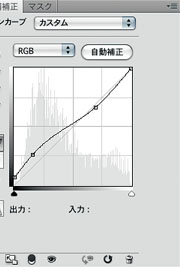
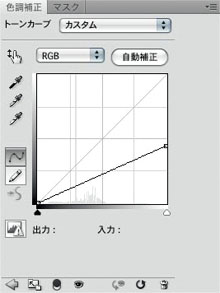
地平線のあたりを明るくするためのマスクとトーンカーブの設定(右画面)。

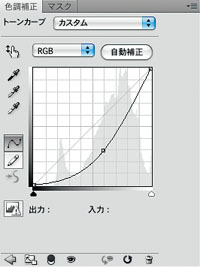
画面の周辺を暗く落とすためのマスクとトーンカーブの設定(右画面)。
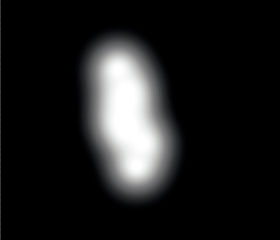
太陽の光の軌跡を強調してみせるためのマスクとトーンカーブの設定(右画面)。
実際より大きなサイズで被写体を合成
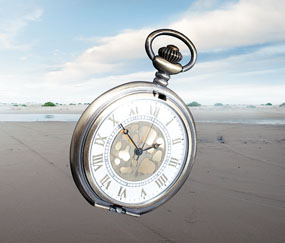
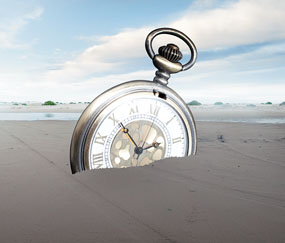
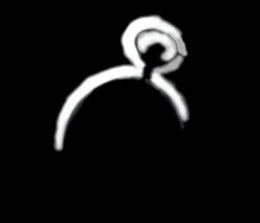
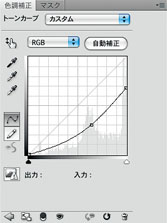
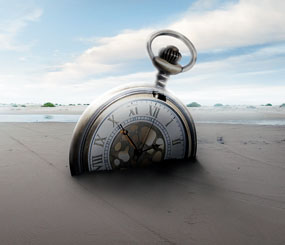 輪郭に光を回り込ませて明るくし、手前の文字盤面は暗めに落とした。影は光源に近いほど濃度が濃く輪郭は硬いが、遠くなるに従い濃度は薄く輪郭も柔らかくボケるということを念頭に描いていこう。
どんなイメージの光にするのか?逆光と影をどう描けばよいのか?
今回の作例ではリアリズムの追求というよりは、絵画に近い空間表現を考えた。実際の撮影ではこうなるはず、といった光学的な知識も必要だが、その制約に捕われずに自由な表現に挑戦できるのがレタッチの醍醐味とも言える。
 懐中時計(画面中央右)と同様に、キノコ、枝を合成した背景画像。
背景に人物を合成、逆光のイメージを部分的に調整
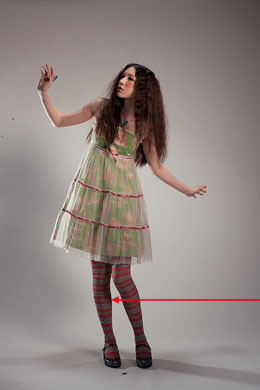
人物を単純に切り抜き合成した画像。シャドー部が暗く落ち硬い印象。
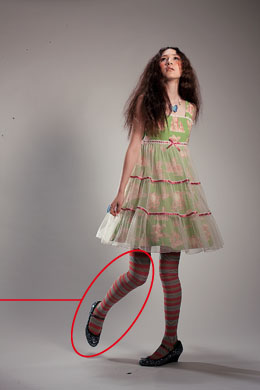
中間調からハイライト部をキープしつつ、シャドー部を明るめに補正。
加えて色調も補正しイメージに近づけていく。この時点で人物の逆光の感じが弱いので背景と見比べながら微調整を行なう。
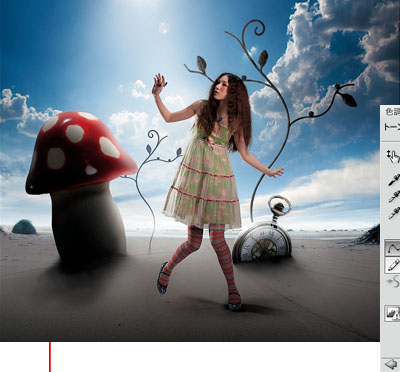
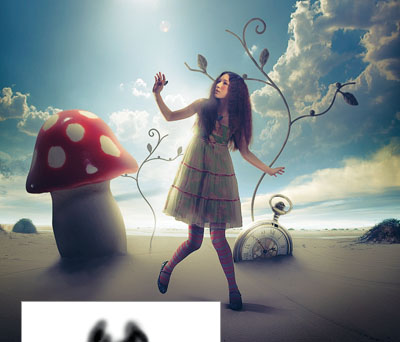 人物に逆光のレタッチを施し完成した画像。シャドー部を少し明るく仕上げると全体に柔らかい印象になった。
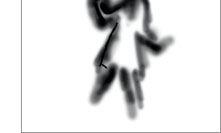
逆光処理は、まず調整レイヤーでハイライトトップ部を落とす。その調整レイヤーのマスクに対し、人物の輪郭をブラシでなぞってハイライトを戻してゆくと逆光のイメージが強く表現できる。

基礎テクニック+Nik Collectionで魅力度アップ!Lightroom カラー作品を仕上げるRAW現像テクニック
桐生彩希 著
紙版1,800円+税(電子書籍版1,700円+税)
Lightroom CC/6で写真編集力アップ!作品づくりが上達するRAW現像読本
澤村 徹 著
紙版1,800円+税(電子書籍版1,600円+税)
最新機能をプロの視点で徹底検証Adobe Photoshop CC ハンドブック
PDF版を無償公開中
自動編集機能のガイドブックAdobe Photoshop オート機能完全攻略 CS6/CS5/CS4対応版
竹澤宏 著/玄光社 刊
紙版2,200円+税(電子書籍版1,800円+税)
大里宗也 Souya Ohsato
熊本工業大学附属情報技術専門学校メディアデザイン学科卒。2000年より株式会社VONSpictures所属。チーフCGデザイナー。http://www.vons.co.jp

- 第16回 水面への映り込みを作った後に波紋に合わせて画像に揺らぎを作る
- 第15回 3DCGソフトの機能を活用し撮影不可能なシーンを創る
- 第14回 3DCGの背景にモデルを合成する
- 第13回 マスクとトーンカーブで光と影をコントロールする
- 第12回 高度なプラグインソフトを活用する
- 第11回 透明な液体のレタッチ
- 第10回 モノクロームの処理 応用編
- 第9回 モノクロームの処理基礎篇
- 第8回 製品イメージカットの演出
- 第7回 フードフォトのレタッチ
- 第6回 Photoshop CS5 Extendedの進化した3D機能を使いこなす
- 第5回 Photoshop CS5の新ペイントツール「混合ブラシ」で写真を絵画調に加工
- 第4回 Photoshop CS5の新機能「パペットワープ」で素材の形を操る
- 「Adobe Photoshopで実践する フォトレタッチ講座」発売
- 第3回 肌の処理
- 第2回 合成の馴染ませ方
- 第1回 「マスクを作る」